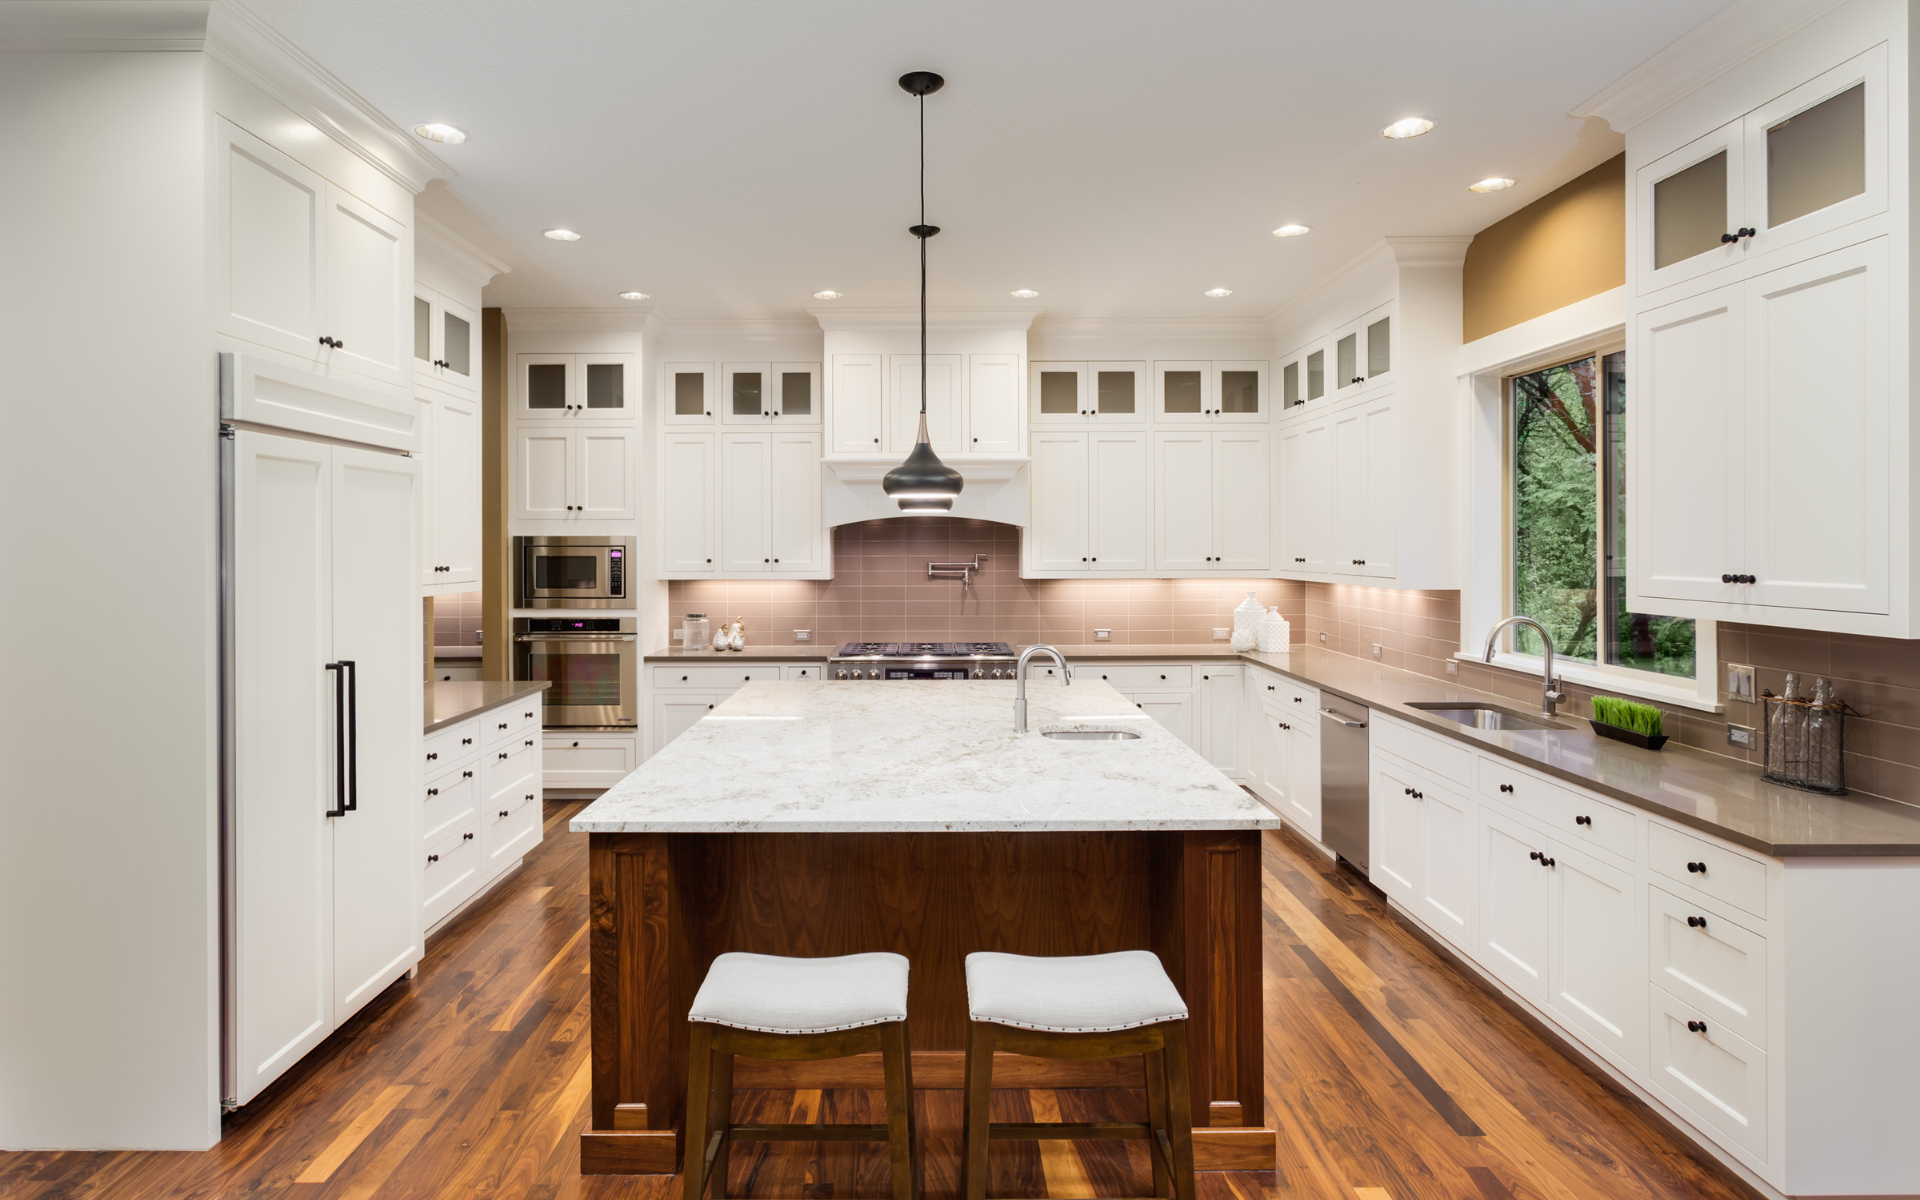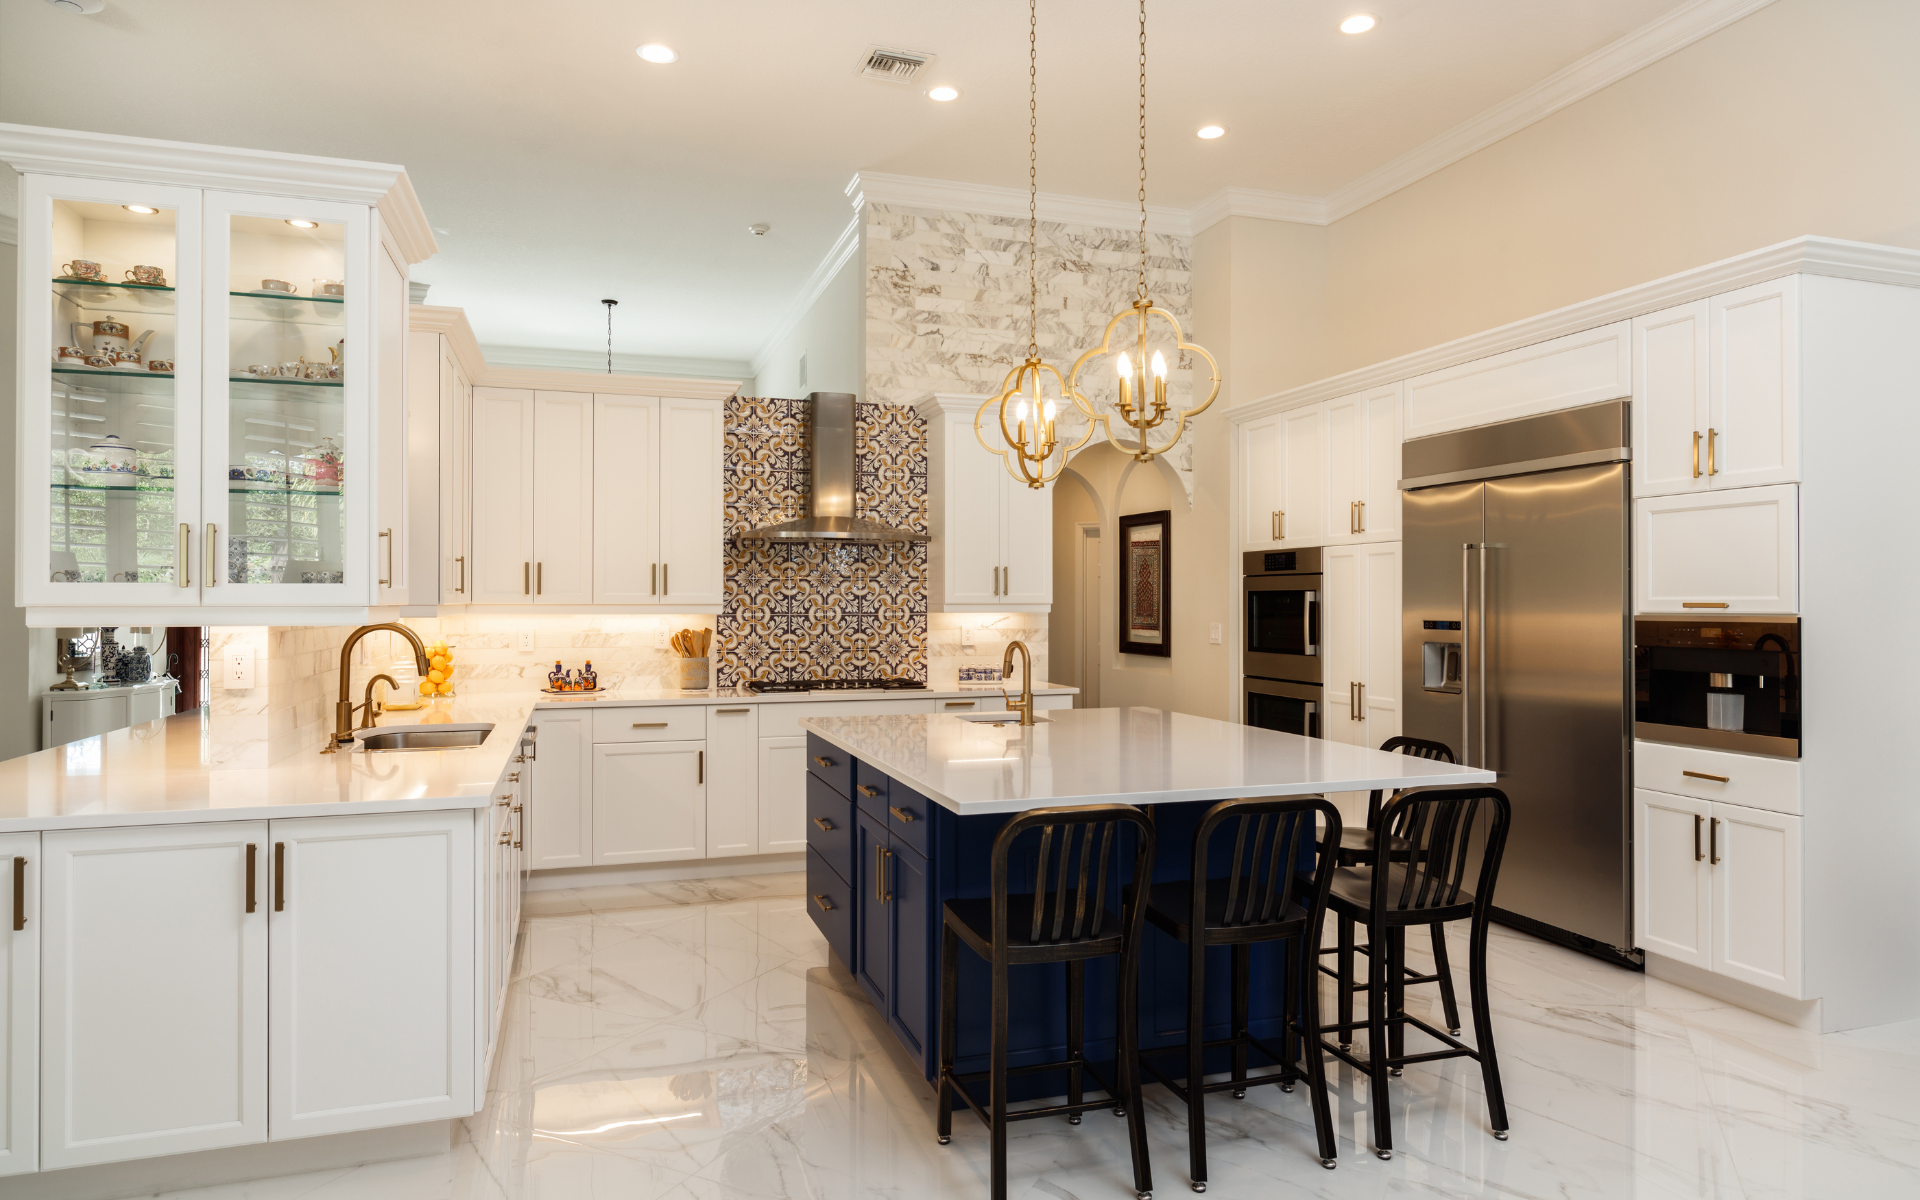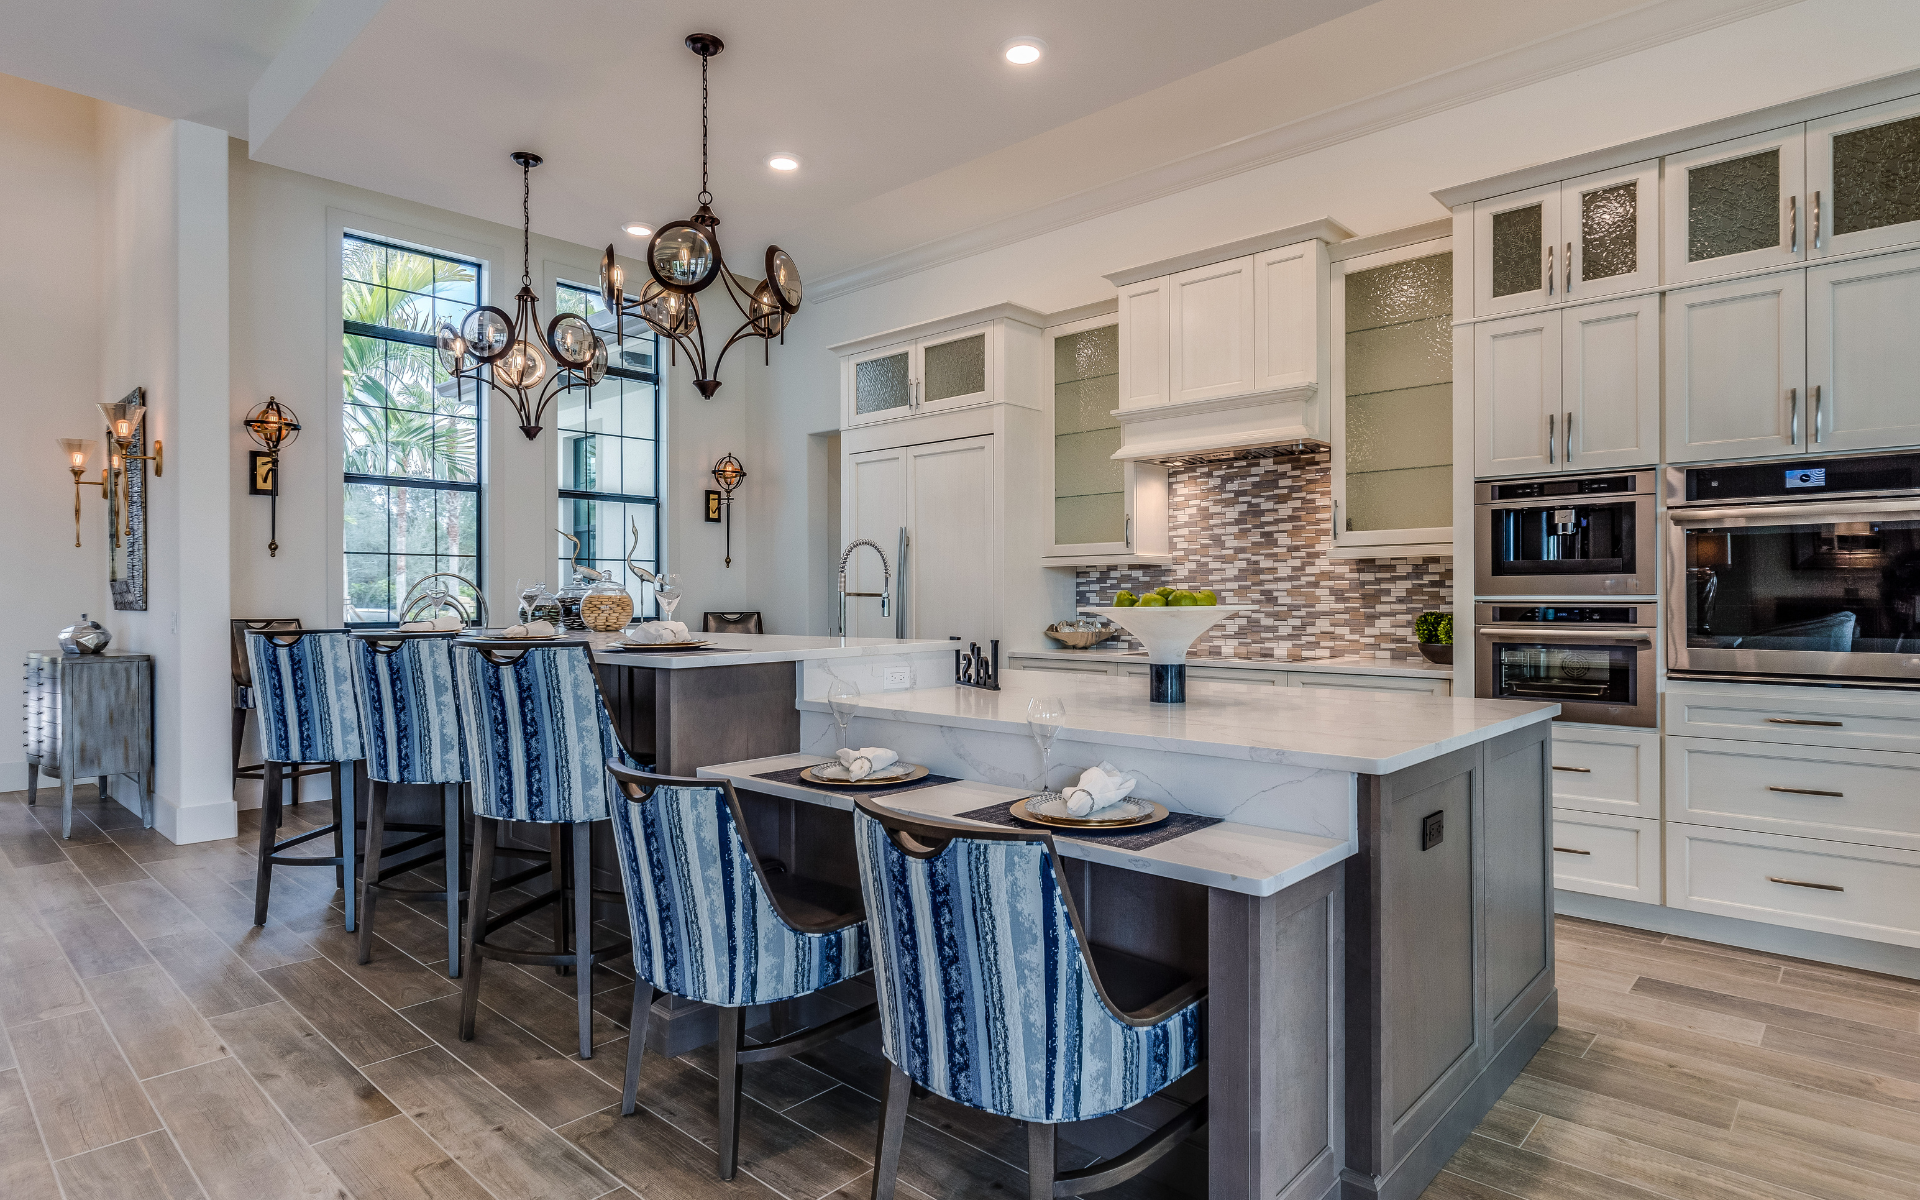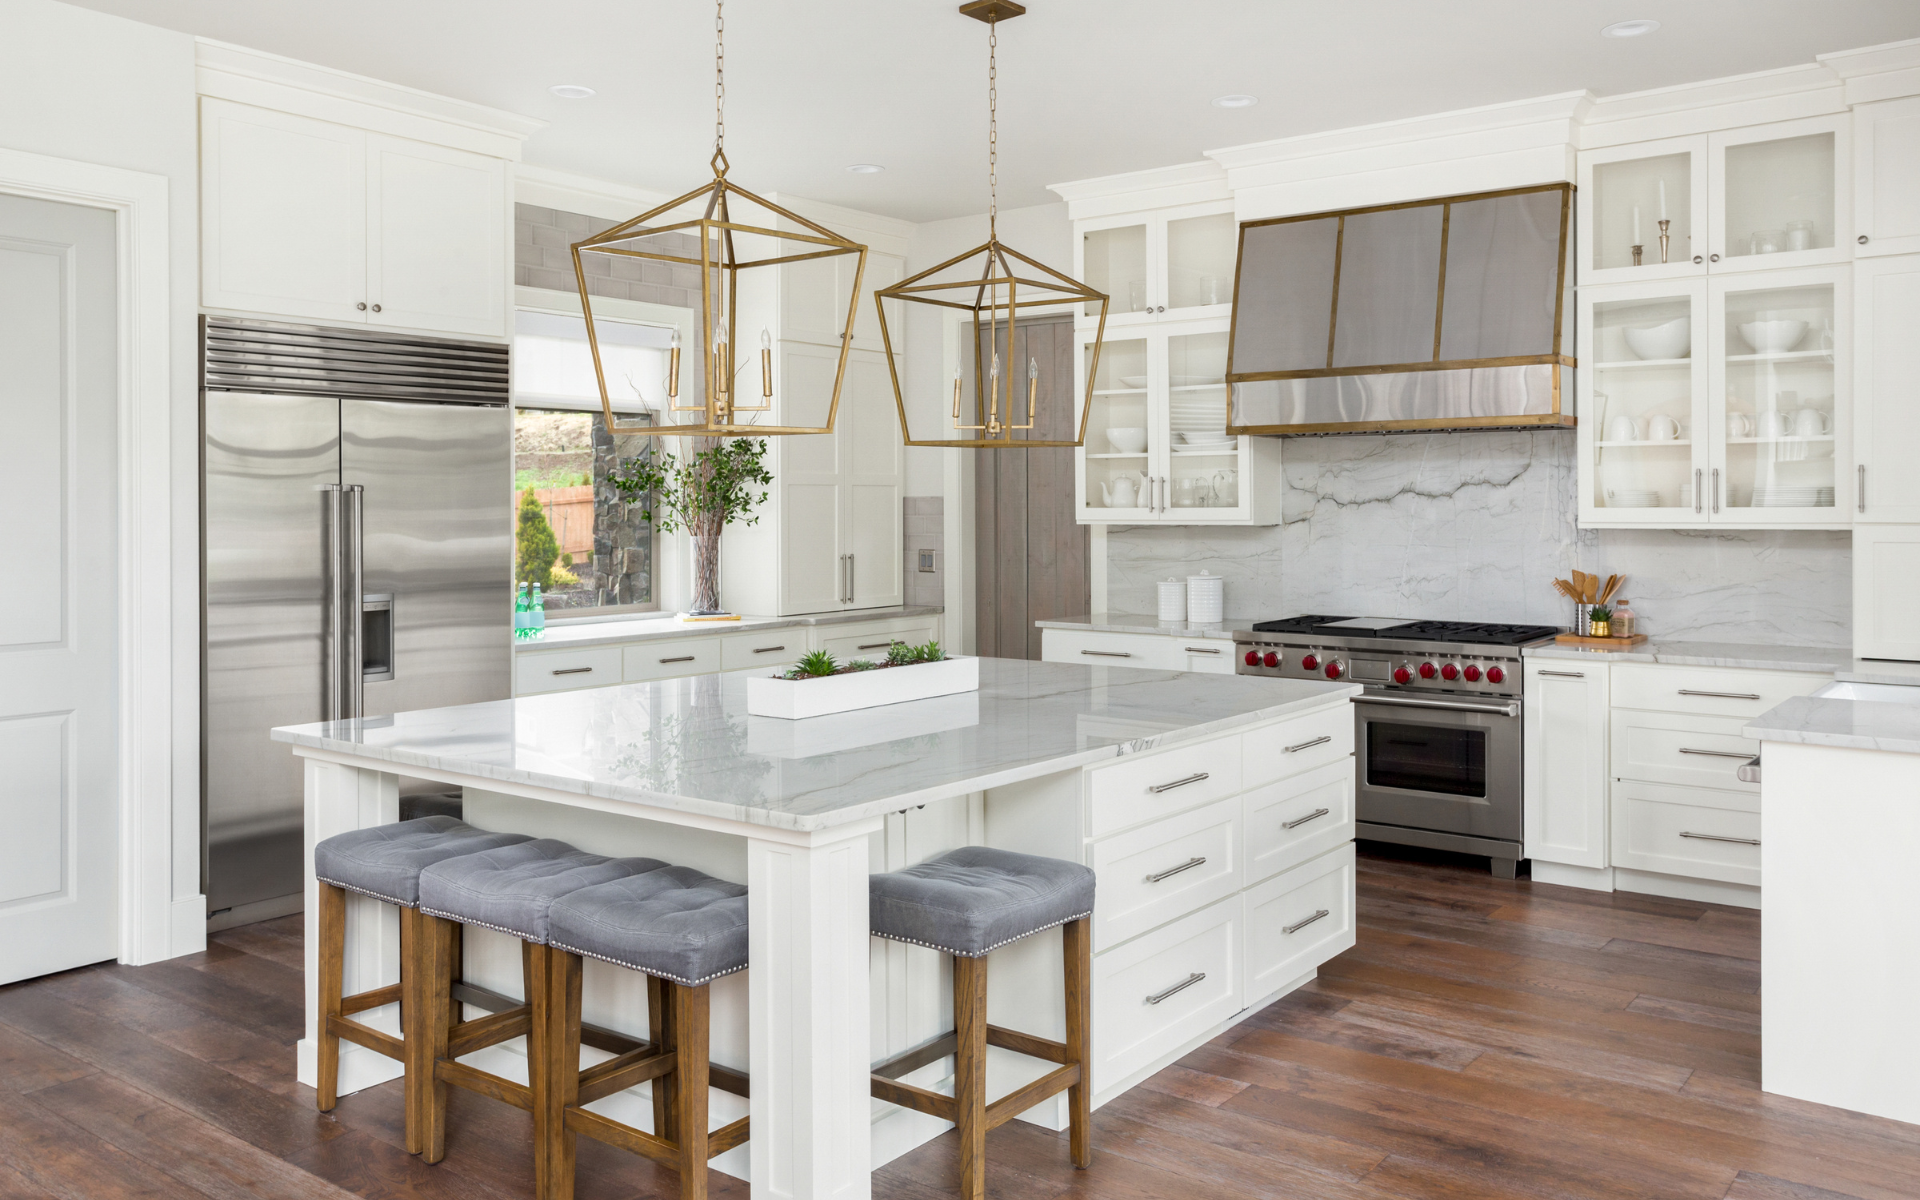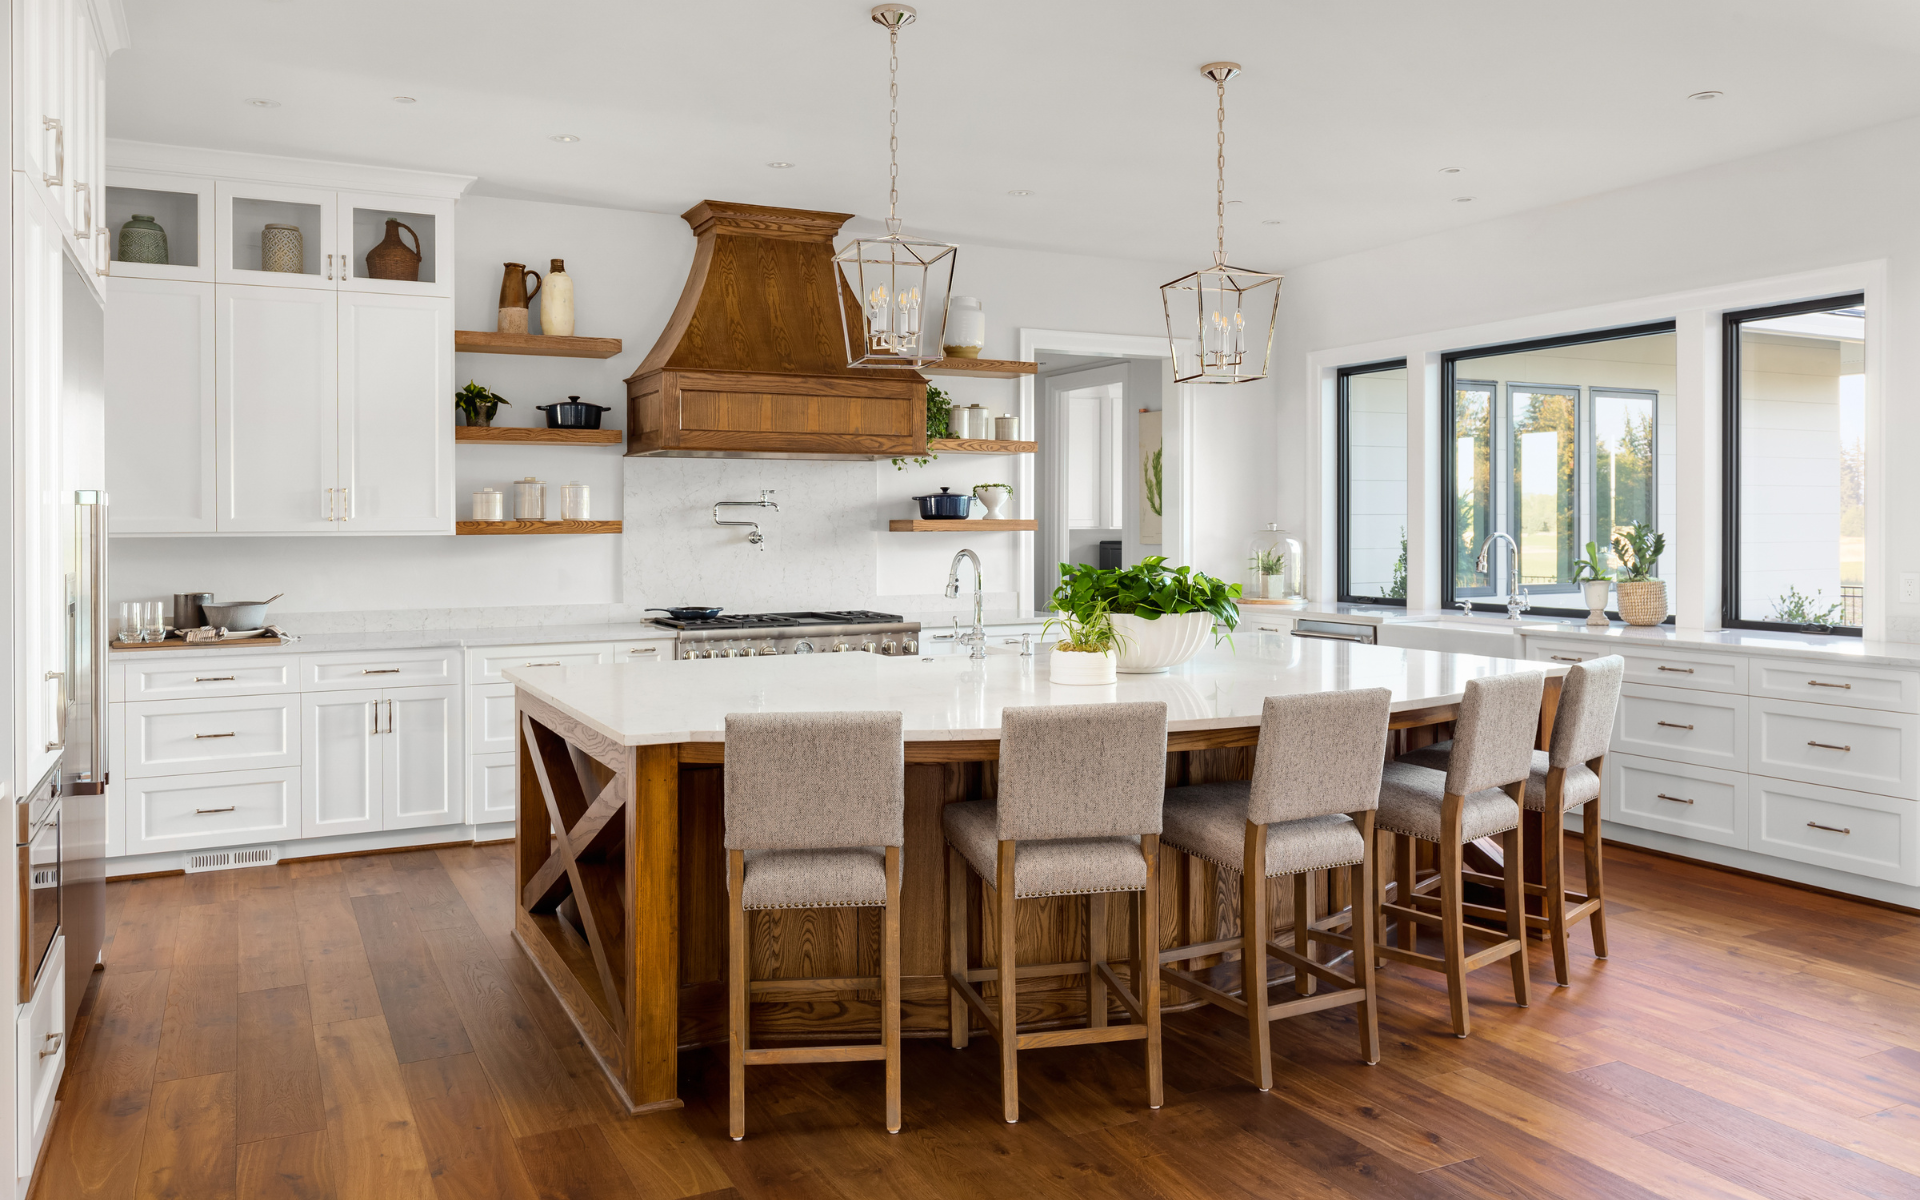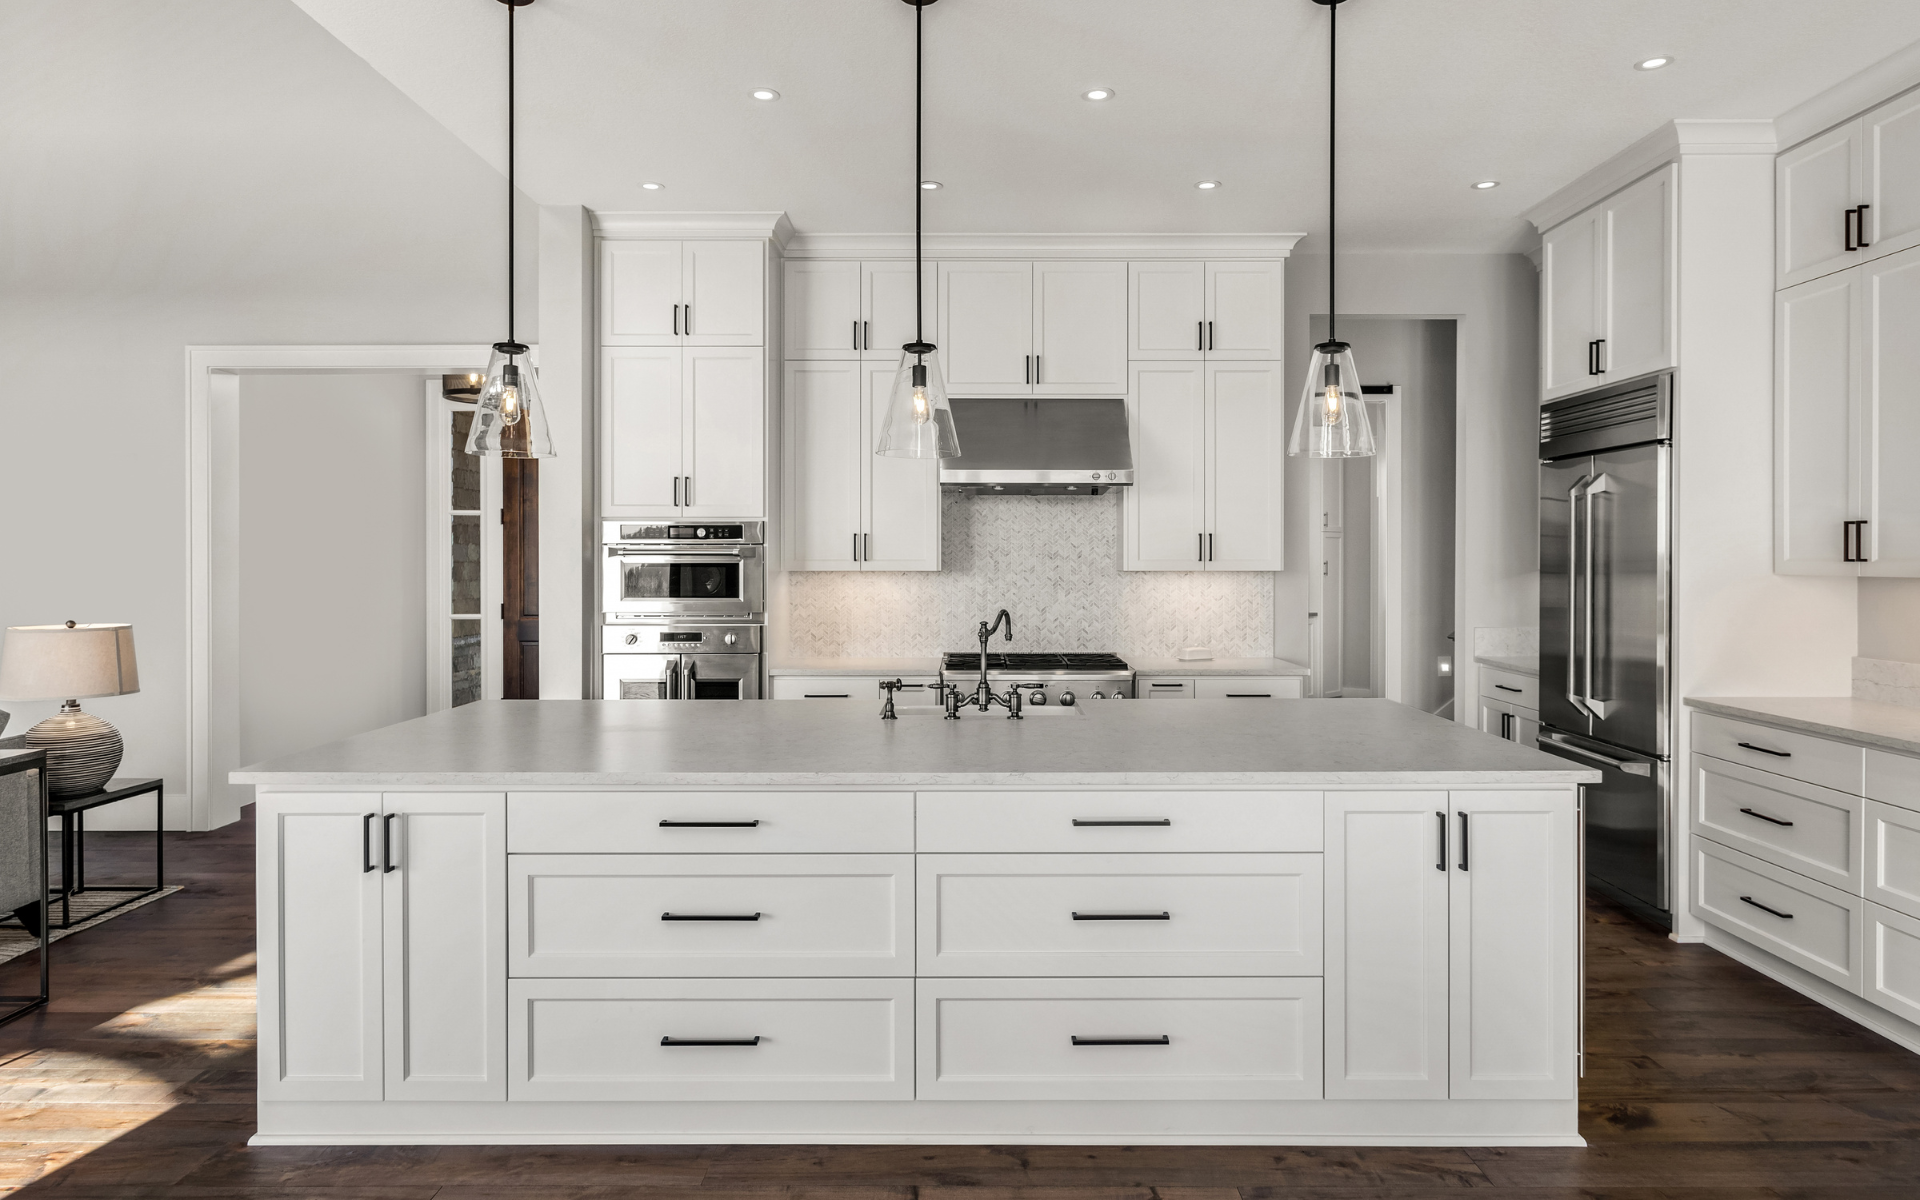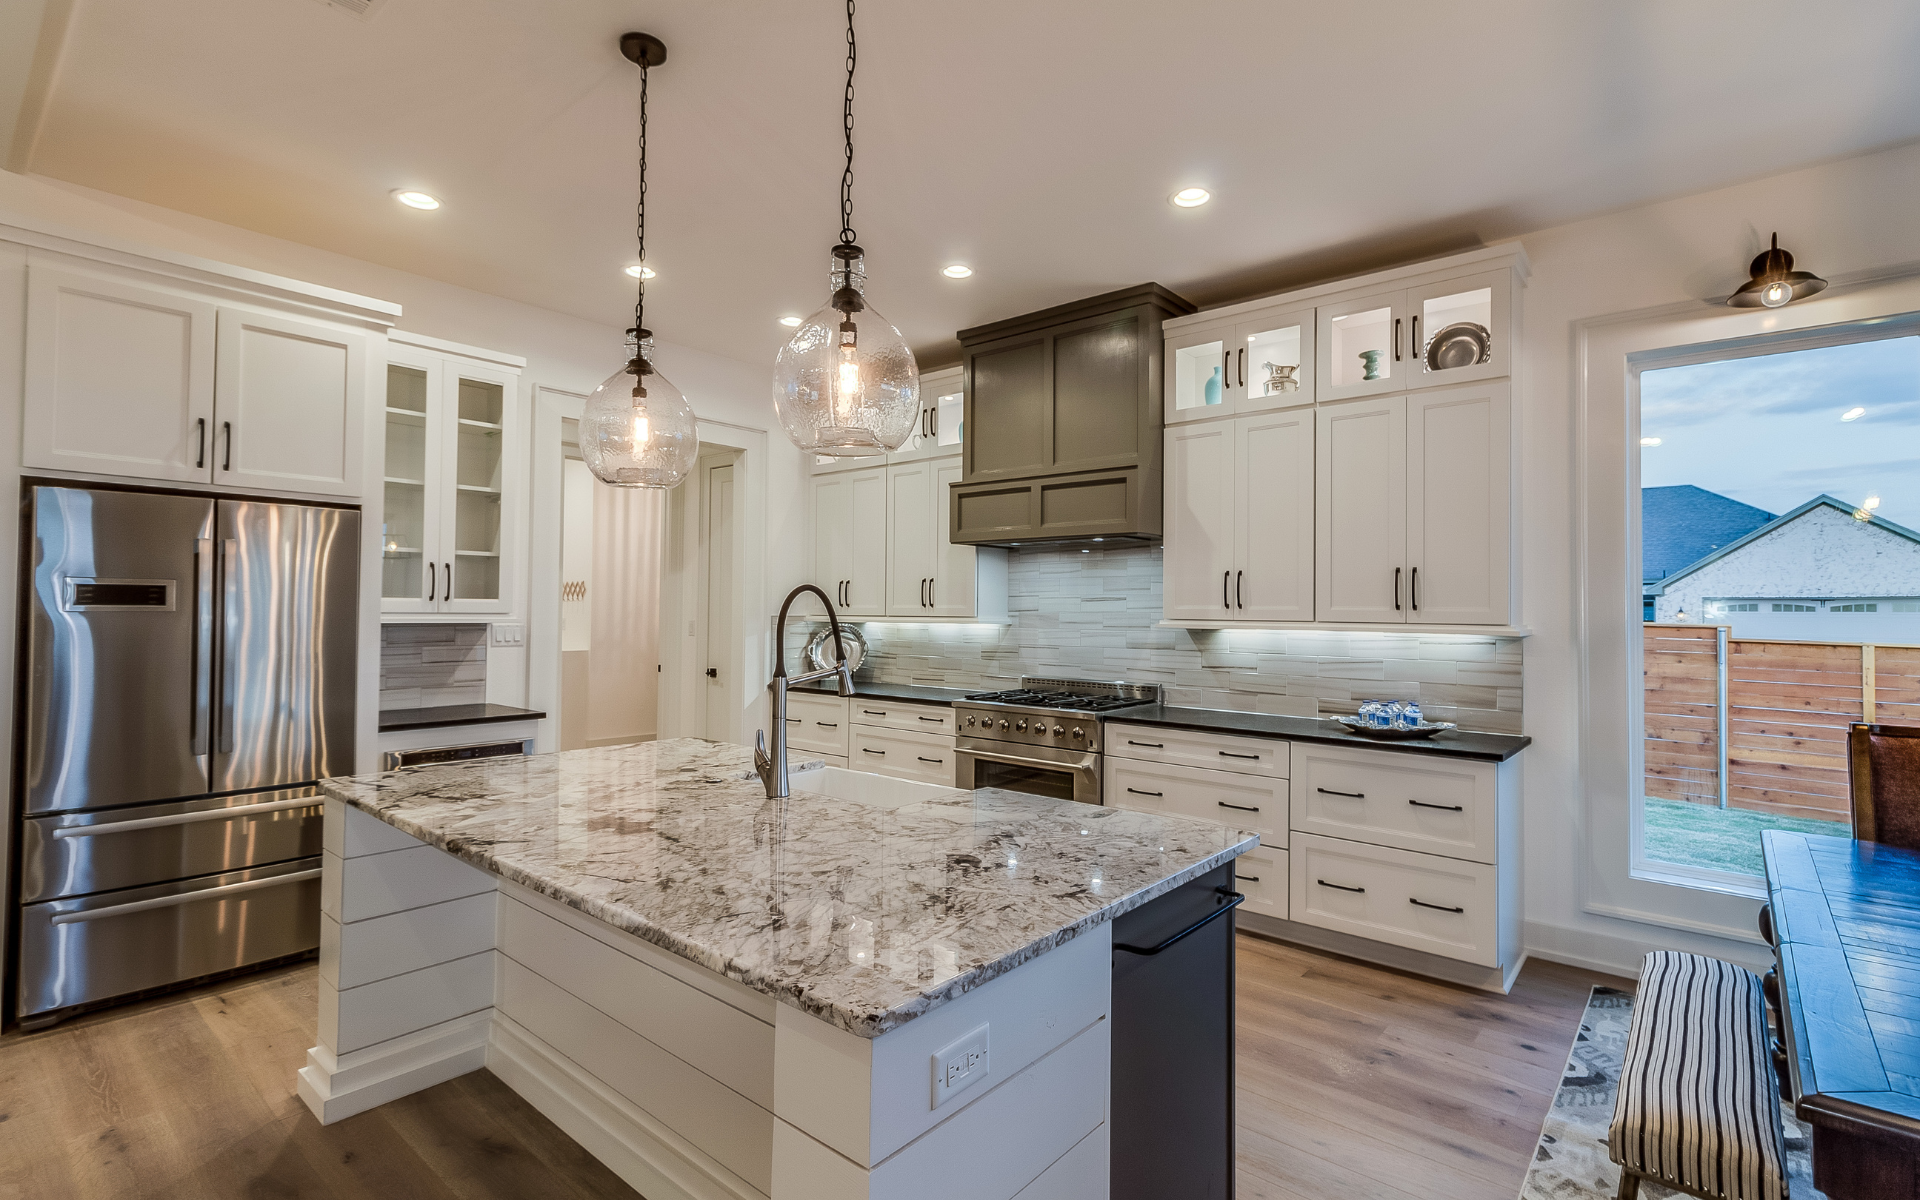
Kitchen islands are the heart of the home. As focal points that blend style and function, great kitchen islands withstand trends and stand the test of time. However, before you hire a kitchen and bath contractor to help you with kitchen island installation, I’ve put together this post sharing my top timeless tips for beautiful, practical kitchen island design.
Whether you’re remodeling your kitchen or designing a new one from scratch, these tips will guide you to create an island with versatility, visual appeal, and good workflow. A stellar island not only provides more prep space and storage but becomes a welcoming gathering spot for family and friends.
Table of Contents
From choosing the right shape and size to materials and amenities, we’ll cover all the bases for crafting your dream island. I’ll share things to avoid and things to embrace. These design ideas have a truly enduring appeal that won’t date your kitchen anytime soon.
Let’s dive into how to build a kitchen island with timeless design and quality construction for lasting enjoyment and functionality. Expert yet practical advice awaits you! Read on for insights that will help you create a focal point your family can gather around for years to come.
Choosing the Right Size
One of the first decisions to make is the choice of size. While it’s tempting to opt for a mega island, bigger isn’t always better. Be sure to choose a size that fits both your space and how you cook. Here are some things to consider:
Measure Your Room Dimensions
Take measurements of your existing kitchen layout before choosing an island size. Islands that are too big can make the kitchen feel cluttered and crowded. As a general rule, islands should be no larger than 1/3 the overall size of the kitchen. An island that’s too small will feel insubstantial and cluttered. For most kitchens, a medium island size of 4-6 feet long and 2-3 feet deep is ideal.
Consider Your Cooking Style
Think about how you use your kitchen. For avid home cooks who need ample prep space, a larger island around 6 feet long could be useful. If you mostly reheat leftovers, a more compact island would suffice. Also, factor in if multiple people frequently cook together. More counter space allows for collaboration.
Check Required Clearances
Don’t forget to account for traffic flow around the island. Islands should have a minimum clearance of 3 feet on all sides. Make sure your island size allows enough space for multiple people to comfortably squeeze through. Open floor plans with wide surrounding walkways can accommodate larger islands.
Pick the Perfect Island Shape
Once you’ve settled on the right square footage, it’s time to choose a shape. The most common island shapes are rectangles, squares, and L-shapes, but don’t be afraid to get creative. Here are some of the most popular options:
The Straight and Narrow: Rectangular Islands
A rectangular island is the most versatile choice appropriate for most kitchen layouts. Simple and understated, the elongated shape provides abundant prep space and seating. Rectangular islands can be placed against a wall, used to divide a large kitchen, or floated in an open-concept room.
Getting Square: The Modern, Compact Option
Prefers something more compact? A square island with similar dimensions on all sides gives you the same amount of counter space in a smaller footprint. Squares lend a contemporary, streamlined aesthetic. Keep traffic flow in mind as the compact shape can create bottlenecks.
Angling for Leg Room: L-Shaped Design
An L-shaped island is ideal for large, open-concept kitchens. The two legs of the L shape maximize seating and provide ample prep room. Position the legs perpendicular to your existing counters to create distinct work zones. One leg can even substitute for a breakfast bar.
Wrapping it Up: U-Shaped Islands
A U-shaped island is ideal for maximizing storage and surface area. The three counter surfaces connect in a U shape to offer an abundant workspace. But the size can limit traffic flow, so U-shaped islands work best in spacious kitchens.
T-Shaped Style
A T-shaped island combines the perks of a rectangular island with a smaller second leg branching off one end. This creates a natural dining bar or buffet area while preserving simplicity. The versatile T-shape can be used in kitchens big or small.
Oval Occasions: Curved Island Shapes
Make a statement by breaking out of the box with a curved island. The organic, oval shape provides a graceful contrast to boxy counters. Curved islands make smart use of angled corners and walls. But limit seating since the non-linear shape won’t easily accommodate bar stools.
Choosing the Right Island Finish
Once you’ve settled on an island shape and size for your kitchen remodel, it’s time to refine the design with an attractive finish. The options for countertop materials and cabinet colors are practically endless. Consider existing elements like flooring and backsplash to select a cohesive finish. Here are some timeless options that won’t date your kitchen island design:
Quartz Countertops
Durable, low-maintenance quartz is one of the most popular countertop materials. The engineered stone is available in a wide variety of patterns like marble or concrete to match any decor. Neutral quartz in white, beige, or gray allows the cabinet color to pop. Bold veining provides contrast.
Butcher Block Countertops
Butcher block offers natural beauty unmatched by manufactured materials. The warmth of wood adds timeless appeal to any kitchen. Use large-scale butcher block planks for a harmonious look. Opt for end-grain construction which highlights the wood grain pattern. Unfinished wood can be stained, oiled, or painted.
Tile Countertops
Another ageless island finish is tile, which provides pattern and texture. Opt for porcelain or ceramic tile which offers durability similar to natural stone. Keep grout lines thin for a seamless appearance. Accent colors in the tile pattern will elevate a neutral cabinet scheme.
White Shaker Cabinets
Nothing beats pristine white for showcasing a kitchen island. White shaker-style cabinetry keeps the focus on the countertop and backsplash materials without competing. The simplicity of white cabinets gives you the freedom to change up the island finish as trends evolve.
Wood-Stained Cabinets
There are many kitchen cabinet ideas, but wood cabinets stained in hues like ebony, espresso, and walnut never go out of style. The rich warmth of stained wood adds coziness to any kitchen aesthetic, from modern to traditional. Match the cabinet stain to the countertop for a harmonious look. Distressed stains feel comfortably worn in.
Clever Island Storage Solutions
A kitchen island should function as efficiently as it looks. Take full advantage of the prime real estate by incorporating storage for cookware, small appliances, and other essentials. Here are some smart ideas to maximize island storage:
Open Shelving
Incorporate open shelving underneath one side of the island countertop to display your favorite cookbooks, dishes, or decor. Stagger the shelves at different heights for visual interest. Include a lip or rail to prevent items from sliding off. Illuminate the shelving with pendant lights.
Enclosed Cabinets
Conceal the clutter with enclosed cabinetry outfitted with shelves, drawers, and other built-ins. Include deep lower cabinets for large pots and pans. Upper cabinets can house small appliances or dinnerware. Consider glass-front cabinets to allow some visibility.
Towel Bars and Paper Towel Holders
Make the island workhorse functional by including spots to hang kitchen towels and position paper towels. Install commercial-grade towel bars to hang dish towels to dry. Under-cabinet paper towel holders save trips across the kitchen.
Spice Racks
Bring essential spices right to your prep space by installing open or enclosed racks designed to hold spice jars. Position them near the cooking surface for easy access. Wall-mounted racks preserve precious counter space.
Cutlery Dividers
Designate a kitchen island drawer to store cooking utensils and cutlery. Use dividers, trays, or inserts to neatly organize each type while reducing clattering. Deep drawers accommodate bulky wooden spoons and tongs.
Appliance Garages
Conceal small appliances like the toaster, blender, and coffee maker in specially designed “appliance garages.” These are pull-out cabinets or cubbies fitted with electrical outlets to operate the appliances in their hidden position. Close the doors on the clutter when not in use.
Creative Island Seating Ideas
One advantage of a kitchen island is the opportunity to incorporate seating. Even if you have a dedicated dining area, island stools provide extra spots for casual meals or keep the cook company. Here are seating options for every style:
Bar Stools
The classic island seating option is bar stools. Opt for counter height or slightly taller styles with backs and footrests for comfort. Swivel functionality makes them easy to get in and out of. Consider integrated stools for a space-saving solution.
Banquette Seating
For family-friendly dining, add corner banquette seating with a table. Bolster comfort with plush cushions and throws. The L-shape fits neatly into corners and provides ample space for the whole family or large parties.
Bench Seating
An attractive butcher block bench saves space compared to individual stools. Allow at least 24 inches per person. Cushion the bench with weather-resistant fabric for comfort. Include built-in storage underneath for bags and shoes.
Mix and Match
Make the island seating area eclectic and inviting by mixing different styles of stools and chairs. Play with heights, shapes, materials, and colors. Just be sure to maintain ample clearance between pieces for movement.
No Seating
Don’t feel obligated to cram in seating if space is tight. Use the full square footage for prep space and storage instead. Position a freestanding farm table or kitchen banquette nearby to serve as a dining zone.
Impactful Island Lighting Concepts
Strategic lighting turns the kitchen island from a workspace to an artful focal point. Combining overhead illumination with task lighting provides ample brightness for prepping and entertaining. Consider these lighting techniques:
Statement Pendant Lights
Make a dramatic style statement with large pendant lights in materials like brass, glass, or iron. Position the pendants at different heights over the island to create visual interest. For long islands, add several smaller pendants spaced evenly apart.
Recessed Lighting
Recessed can lights provide general ambient lighting. Position several evenly-spaced fixtures directly over the island to brightly illuminate tasks. Choose adjustable heads to direct the light precisely where needed.
Undercabinet Lighting
Run LED lighting underneath the island cabinets to spotlight the counter space and eliminate shadows. Continuous strip lighting provides smooth, even illumination. For a more concentrated effect, use individual puck lights.
Covered Chandelier
Add a showstopping iron or crystal chandelier over the island dining area. Install a decorative metal cover to satisfy code requirements for chandeliers over counters. The intricate latticework adds architectural appeal.
Backlit Onyx
For dramatic impact, install backlit onyx panels in the base of glass cabinetry or on the sides of open shelving. The luminous stone makes a glowing focal point when illuminated. Place inside glass doors to highlight dish collections.
Considering all this
The island can make or break the functionality and aesthetic of your kitchen. By following these timeless design tips, you’re sure to end up with a picture-perfect island that meets your cooking needs and style.
Remember to scale the size appropriately for your existing layout and traffic flow. Choose a versatile shape like a rectangle or L-shape in a durable, low-maintenance finish that fits your decor. Maximize storage with clever built-ins while also allowing some visibility. And don’t neglect lighting choices that transform the island into a focal point. With strategic planning and expert tips, your dream kitchen island awaits!

