DIY kitchen cabinets are a practical solution that allows you to build and install them on your own. Requiring a little skill, patience, time, and a few materials, this process makes it possible to design the kitchen according to your taste. The correct use of materials, space measurements, and installation steps is of great importance to successfully realize the DIY kitchen cabinets project.
Why Choose DIY Kitchen Cabinets?
The reasons for choosing DIY kitchen cabinets include advantages such as cost, customization, and satisfaction. The most obvious benefit is cost savings, as ready-made kitchen cabinets are more expensive due to labor charges. It also gives the possibility of complete customization in terms of design and functionality, from the choice of materials to the finishing touches.
In your DIY kitchen cabinets project, you can determine the number of shelves according to your storage needs and design cabinets in special sizes for narrow spaces. In addition, this process, which you realize with your labor, satisfies you in the end.
Things to Consider Before You Start
Before you start, you should consider the factors such as space measurements, cabinet type selection, and needs analysis. These three factors will ensure the functional and aesthetic success of your project and prevent potential problems. At this point, here are the points to consider before performing the DIY kitchen cabinets build and install process:
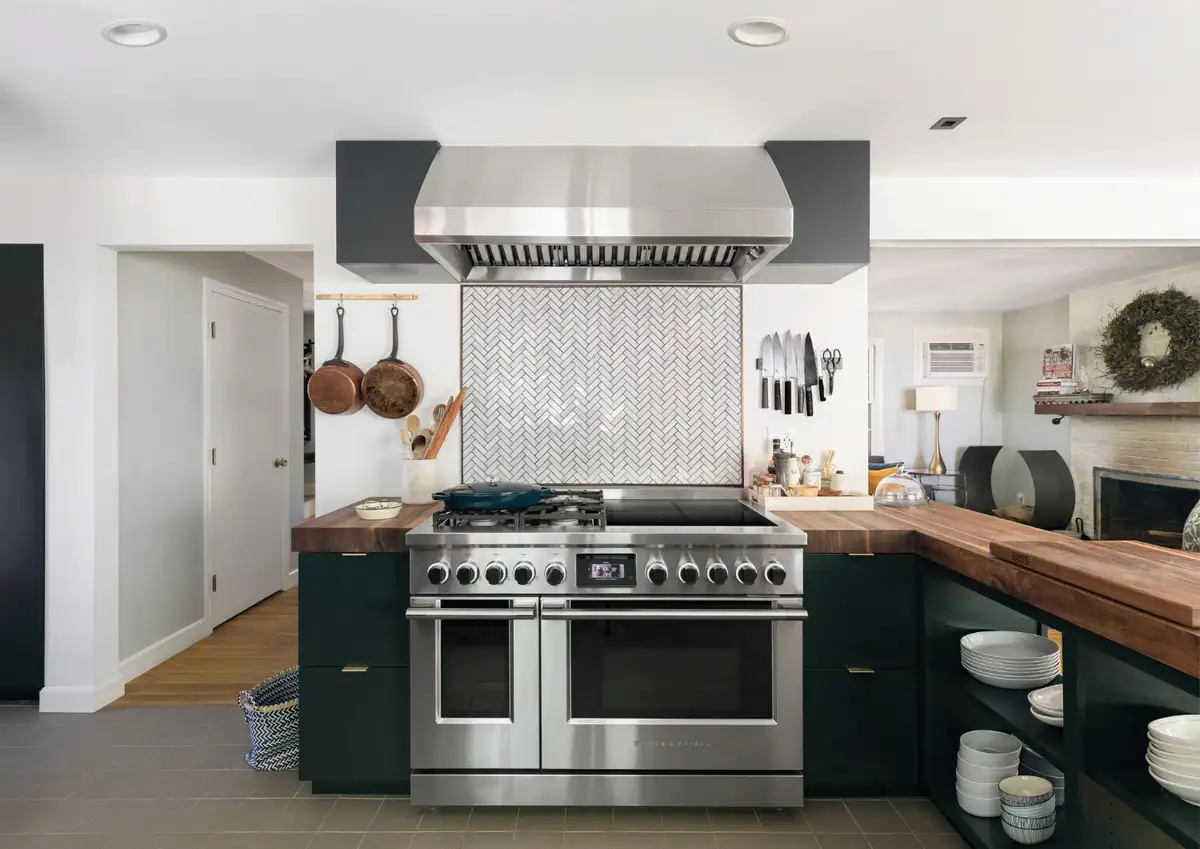
Space Measurements
Space measurements are an important step in any remodel or build. The length of the walls, the height of the ceiling, and the square meters of the floor should be carefully measured. Access and placement of cabinets should be planned, especially taking into account the position of doors and windows.
Needs Analysis
Before building a kitchen cabinet, you should consider your storage needs. This factor, which forms the basis of cabinet design, allows you to create a functional and convenient kitchen environment.
For this, you should make a partition plan to provide ease of access to frequently used pans, pots, and kitchen tools. At this point, it is important to determine the functions of the upper and lower cabinets according to your needs.
Cabinet Type Selection
When choosing the type of cabinet, you should consider the top, bottom, and corner details. The upper cabinet is generally preferred for storing light and necessary kitchen utensils that are not used frequently.
Lower cabinets are suitable for storing heavy objects such as frequently used cooking materials. Corner cabinets are fixed to the walls to utilize the corner areas of the kitchen.
Tools and Materials Needed for DIY Cabinets
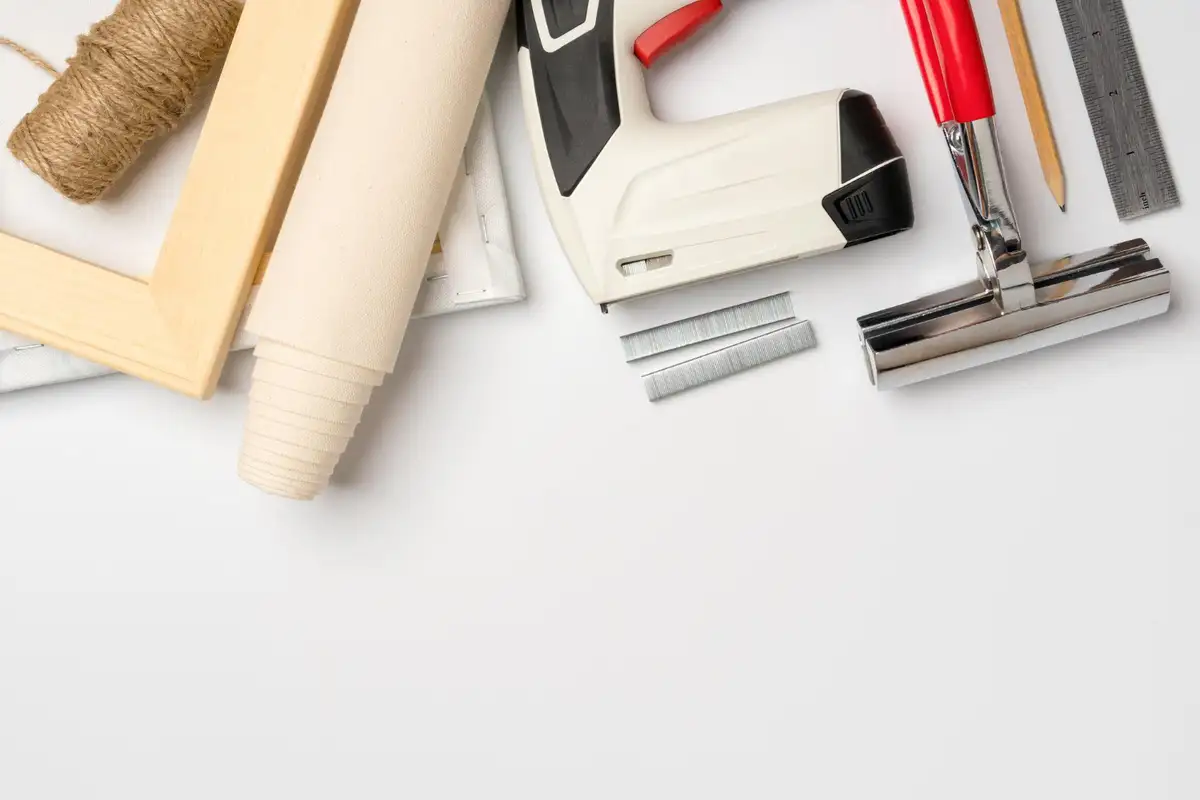
For DIY kitchen cabinets, you will need to obtain hand tools and some types of materials in advance. The most commonly used ones include products such as a drill, a hammer, and clamps. At this point, other tools and materials needed for DIY cabinets are as follows:
- The drill is a hand tool needed for drilling holes and tightening screws when assembling cabinets.
- Hammer provides great convenience in joining wooden parts and hammering nails.
- Clamps are used to hold wooden parts in place when joining them together and prevent the parts from slipping before screwing.
- Circular saw, for cutting materials to precise dimensions and angles in different cutting operations.
- The screwdriver set makes work easier by adapting to screws of different sizes and types in applications requiring screw tightening and unscrewing.
- A sanding machine is a tool used for smoothing wood surfaces before painting and varnishing.
Durable and workable products should be preferred when choosing materials for DIY kitchen cabinets. At this point, plywood and MDF are used for their advantages. Plywood is more durable and offers a natural wood look, while MDF is smoother and suitable for painting.
To assemble the cabinets, assembly materials such as hinges, screws, dowels, and wood glue should be available in advance.
Step-by-Step Guide to Building Kitchen Cabinets
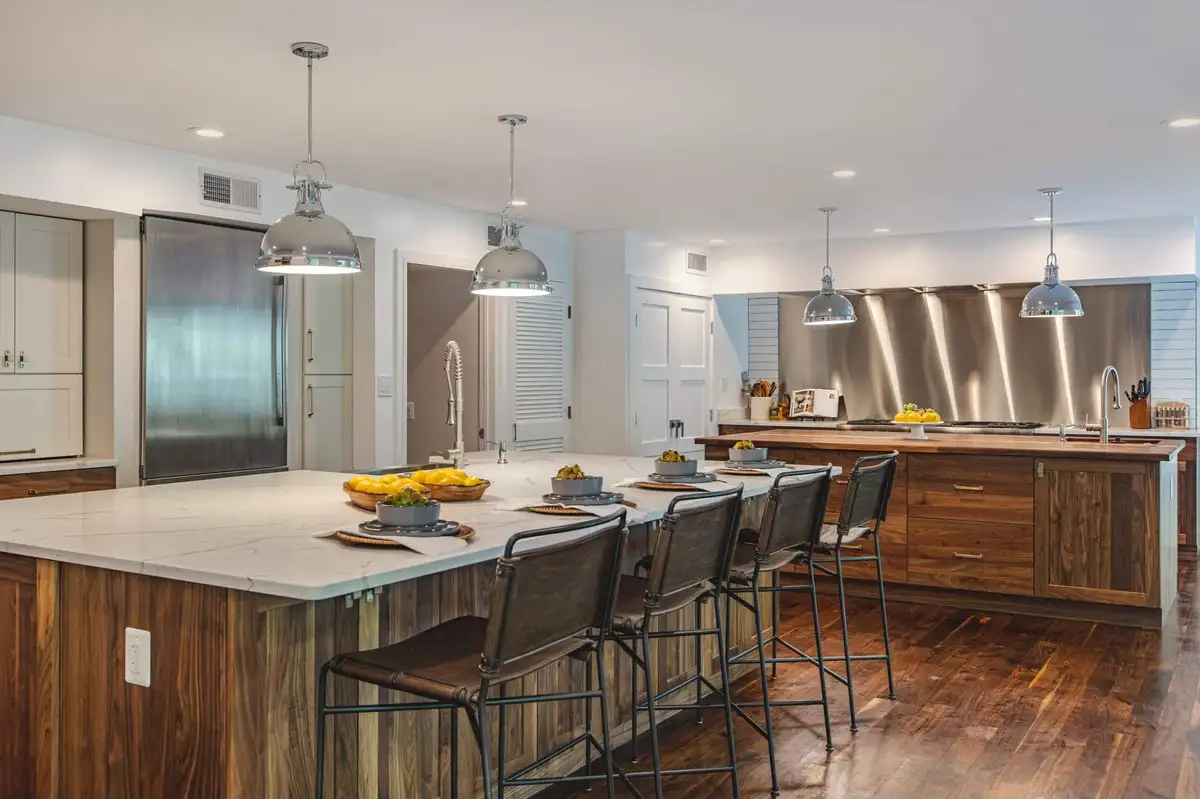
To build your own kitchen cabinets, you must first plan the design by taking the right measurements. Then you have to follow the steps such as cutting the material, joining the parts, and assembling. The step-by-step guide for the build your own kitchen units is as follows:
Measurement and Design Planning
To make kitchen cabinets, you must first measure the wall lengths and ceiling heights. Also, window and door covers should be measured with millimeter precision. You can sketch by transferring your results to paper or a design program. In the design process, you should plan the size and placement of the cabinets, taking into account your usage habits.
Material Cutting
After the measurement and design phase, you should cut the material you have chosen according to the specified dimensions. It is important to cut the pieces precisely and smoothly with the help of a circular saw or jigsaw. At this stage, you need to prepare the side, top, bottom, back panels, and shelves.
Marking of Parts
Before assembling the cut parts, you can mark where to join them with a pencil. By marking the screw and hinge points, you can practically assemble the parts without any confusion during the process.
Assembling the Parts
You can join the cut pieces together using screws, hinges, dowels, or wood glue. At this stage, you should especially make sure that the corner joints are smooth. For this, you can balance it by holding it firmly with a vise.
Assembly and Vertical Stance Control
You should place the assembled cabinets in a vertical position and make sure that they are correctly aligned. You should check the dimensions and position frequently during assembly. When mounting the cabinets to the wall, you can use strong anchor screws to secure them.
Surface Preparation and Painting
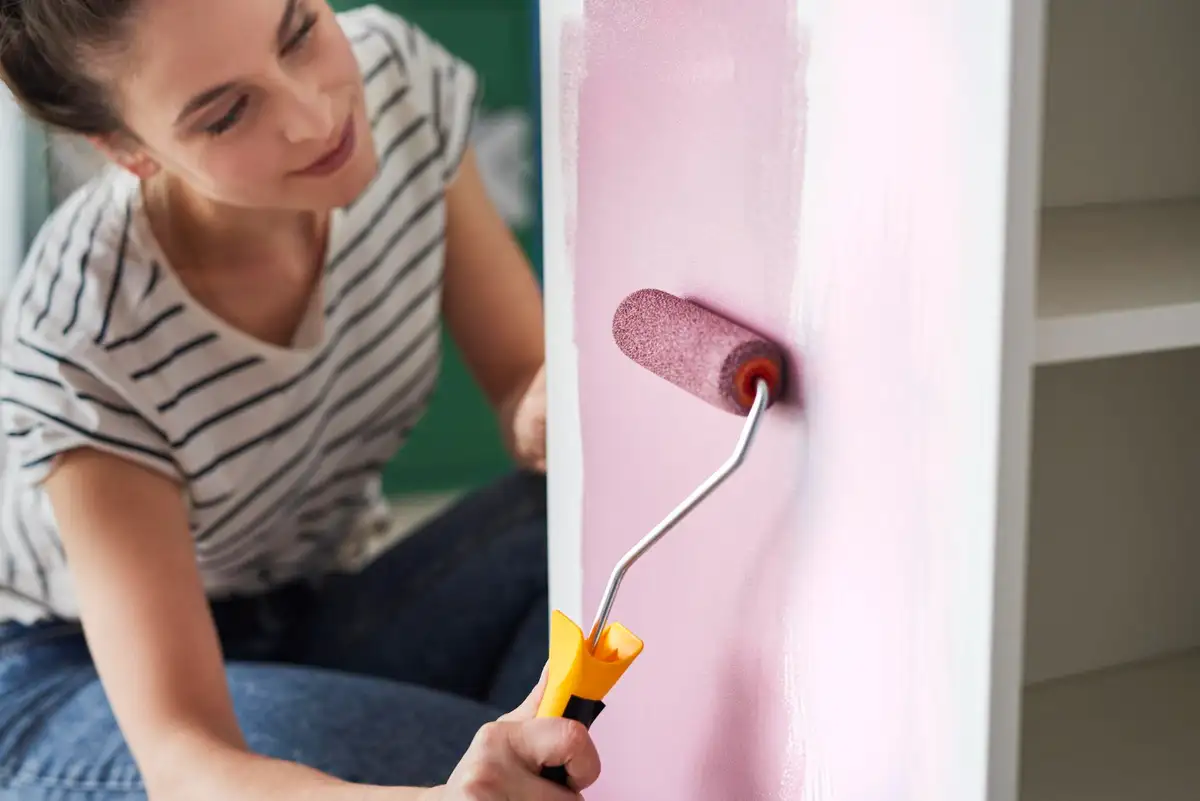
You can remove roughness by smoothing the surface of the cabinets with a sanding machine. By sanding the edges, corners, and surfaces, you can ensure that the paint or varnish adheres well.
Painting, Varnishing, and Coating
You should apply a paint or varnish of the color of your choice to the surface of the cabinet with a brush. In the process of DIY painting kitchen cabinets, you should apply water-based or oil-based products layer by layer and wait for them to dry.
Door, Handles, and Hardware Installation
You need to attach hinges to the cabinet doors so that they open and close. Along with this, you should install the handles and drawer runners. After you finish the hardware assembly, the DIY kitchen cabinets are ready for the installation phase.
Installing Your DIY Cabinets in the Kitchen
During the installation process, you need to carefully fix the cabinets to the wall. At this stage, starting with the lower cabinets provides more convenience in terms of alignment and balance. Here are the steps you need to follow for installing DIY cabinets:
Floor and Wall Control
Using a spirit level, you should check whether the walls and floor are crooked. If there are curves, you can apply drywall to make it flat and smooth.
Placing and Fixing the Lower Cabinets
You must install the lower cabinets in the appropriate positions according to their dimensions. You should check and align each cabinet with a spirit level and then screw the cabinets together. Then you need to fix them to the wall with suitable dowels or screws.
Assembling Upper Cabinets
The installation of the upper cabinets requires at least two people because they are difficult to hold and align. To do this, you must first determine the height with a tape measure and draw a straight line with a pencil. You can also make markings according to the width of the cabinet and place each module in the correct position.
In the assembly phase, you should hold the first upper cabinet aligned to the line and attach it to the wall with 2-3 strong screws. The others should follow the same line, securing them in turn with anchor screws.
Cover and Hinge Assembly
After placing the hinges properly on the cabinet bodies, you should put the doors on their hinges. After installing the DIY kitchen cabinet doors, you can check how they open and close. To make it look smooth and symmetrical, you need to readjust the screws on the hinge if there is a skew.
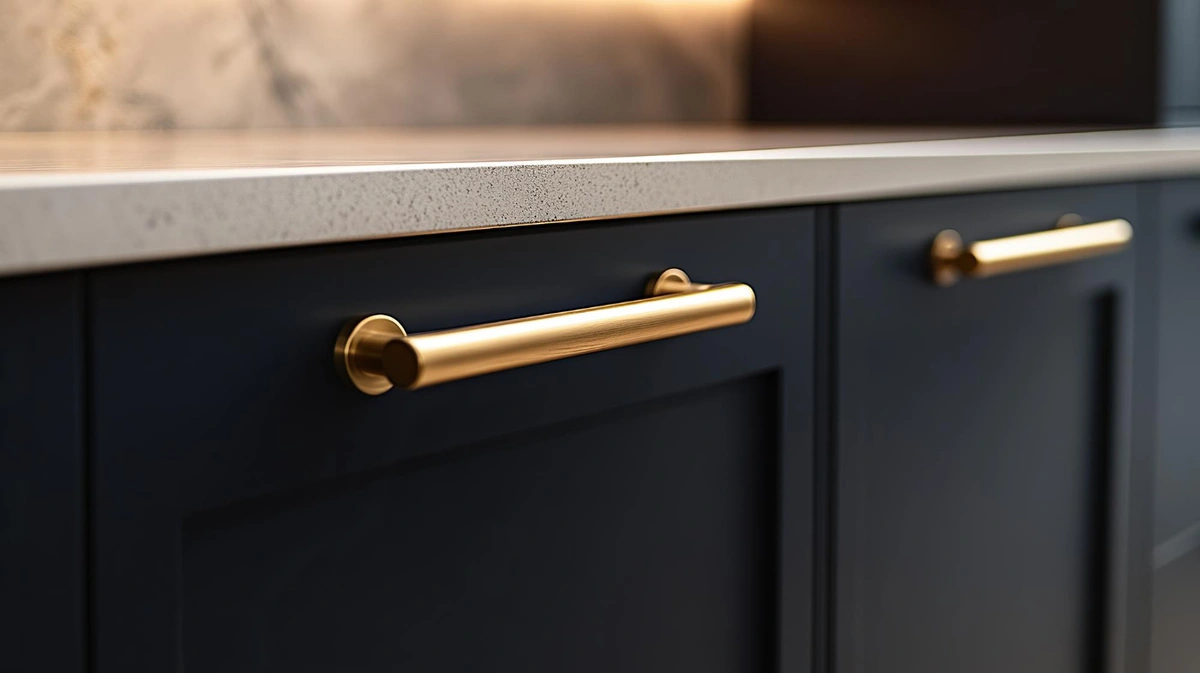
Installing Handles and Drawers
Before installing the handles on the cabinets, you should determine the appropriate position by aligning them with a ruler and pencil. In this process, each handle must be at the same height for a symmetrical appearance.
You should place the drawers on the rail system and make sure that they work properly with back-and-forth movements.
Design Tips to Make Your Cabinets Stand Out
The prominent designs for DIY kitchen cabinets are related to details such as color choice, cabinet hardware, and glass panels. First of all, you need to choose the color, and if your kitchen is small, you can use light tones for a brighter look. Other design tips to make your cabinets stand out are as follows:
- If your kitchen cabinets are made of wood, you can highlight the texture of the surface by applying lacquer or varnish.
- You can create an aesthetic detail by adding glass panels to the cabinet doors, especially with a frosted glass design.
- By adding an open shelving system in the corners, you can increase your storage space and create a new space that you can use for decorative purposes.
- You can use different colors for the upper and lower cabinets, taking into account the mix & match two-toned colors design.
All these design tips include small but strategic touches. For example, fittings are also details that add difference to kitchen designs. At this point, you can blend vintage and modern home style by choosing brass, matte black, or ceramic handles.
Common Mistakes to Avoid in DIY Cabinet Projects
Measurement is among the most common mistakes in the DIY build kitchen cabinets process. Even millimeter differences can cause alignment problems. Another common mistake is choosing the wrong material, as low-quality MDF can warp over time and rot in a humid environment. In addition, improper placement of hinge and rail systems can also prolong the process by preventing the doors from opening and closing.
Final Touches That Make a Big Difference
After a DIY kitchen cabinets makeover, you can make a big difference with the finishing touches. For example, lighting in the cabinets creates a cozy atmosphere in the kitchen and makes it easy to find the items you are looking for.
You can also prevent clutter by adding drawer dividers to organize small kitchen utensils such as forks, spoons, and spices. In addition, silent closing mechanisms prevent the hard closing of cabinets and drawers and extend their lifespan.
References:
- https://www.diy-kitchens.com/about-diy-kitchens/why-diy-kitchens
- https://restore.tchabitat.org/blog/diy-kitchen-cabinet-installation
- https://www.mwawoodworks.com/posts/how-to-build-cabinets
- https://www.instructables.com/How-To-Make-Cabinets/
- https://www.lowes.com/n/how-to/how-to-install-kitchen-cabinets
- https://www.cabinetdiy.com/reasons-diy-kitchen-cabinets-popular


