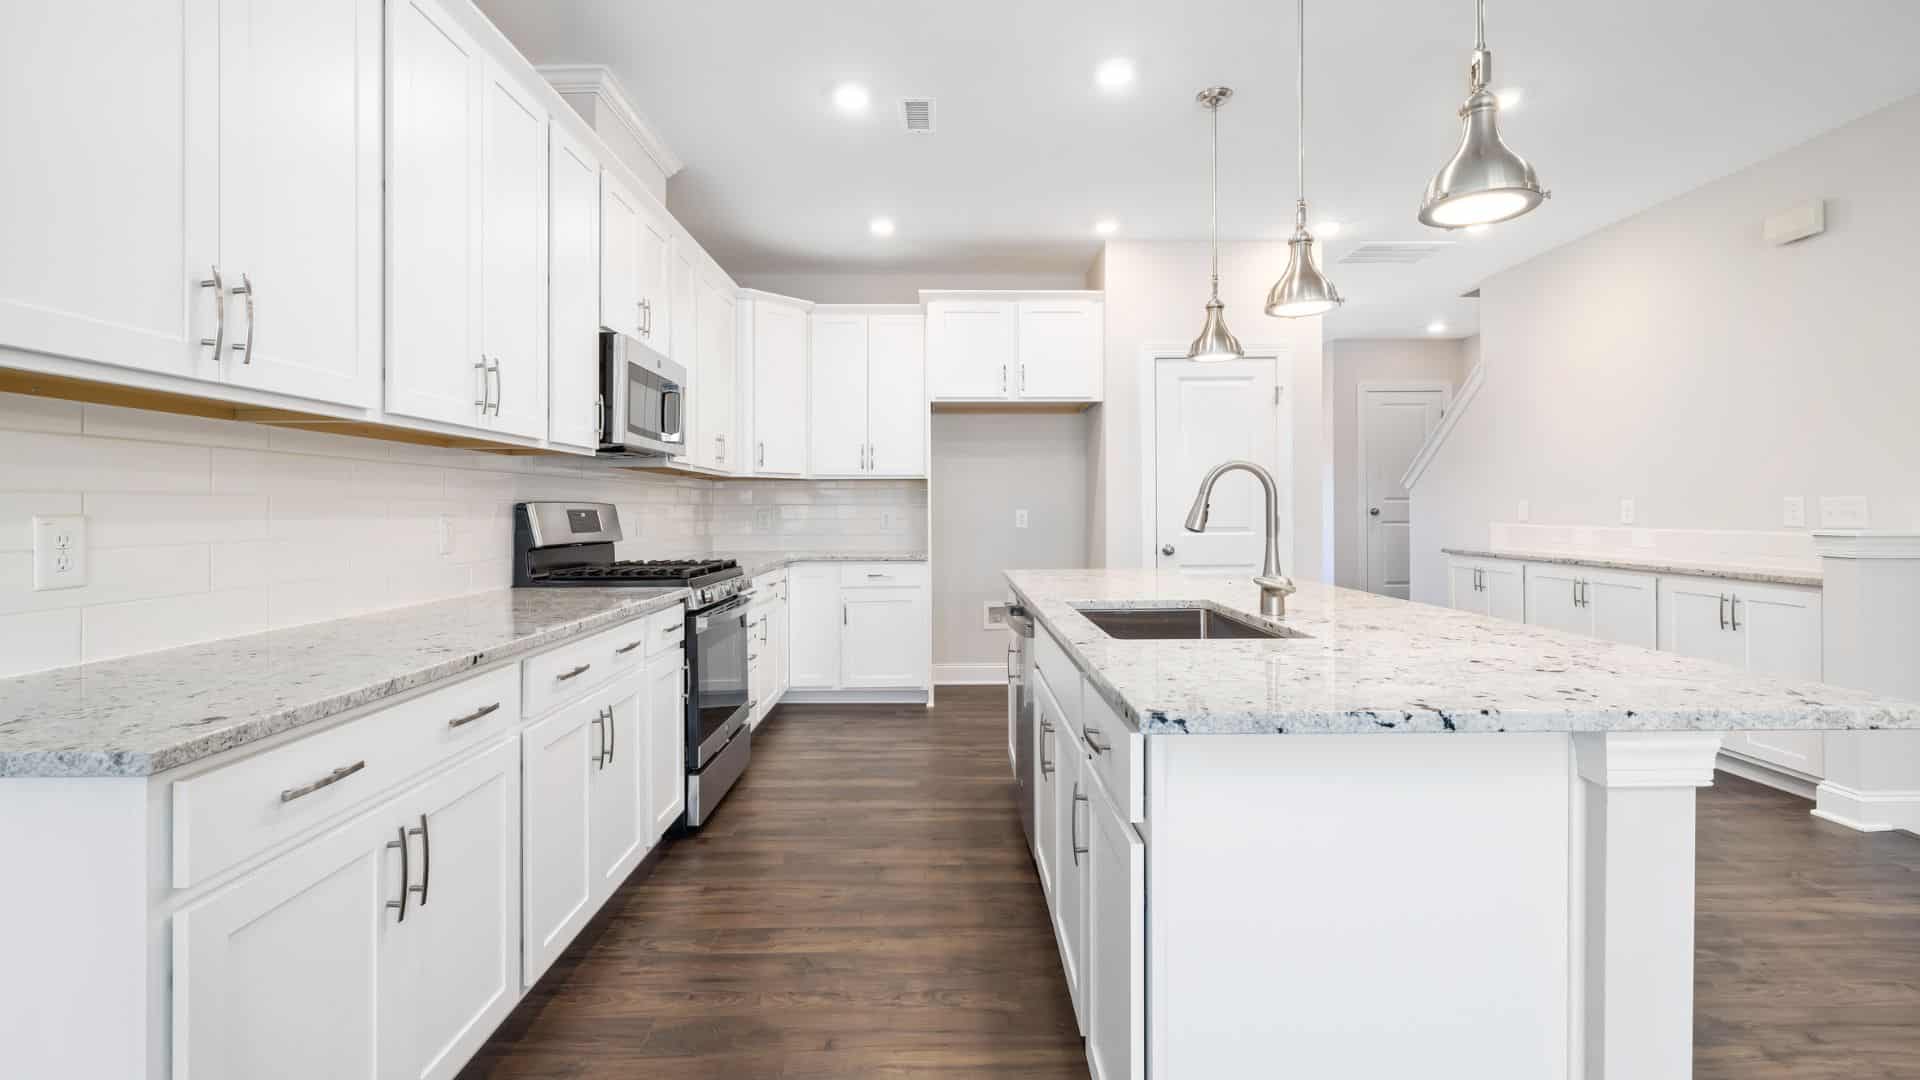
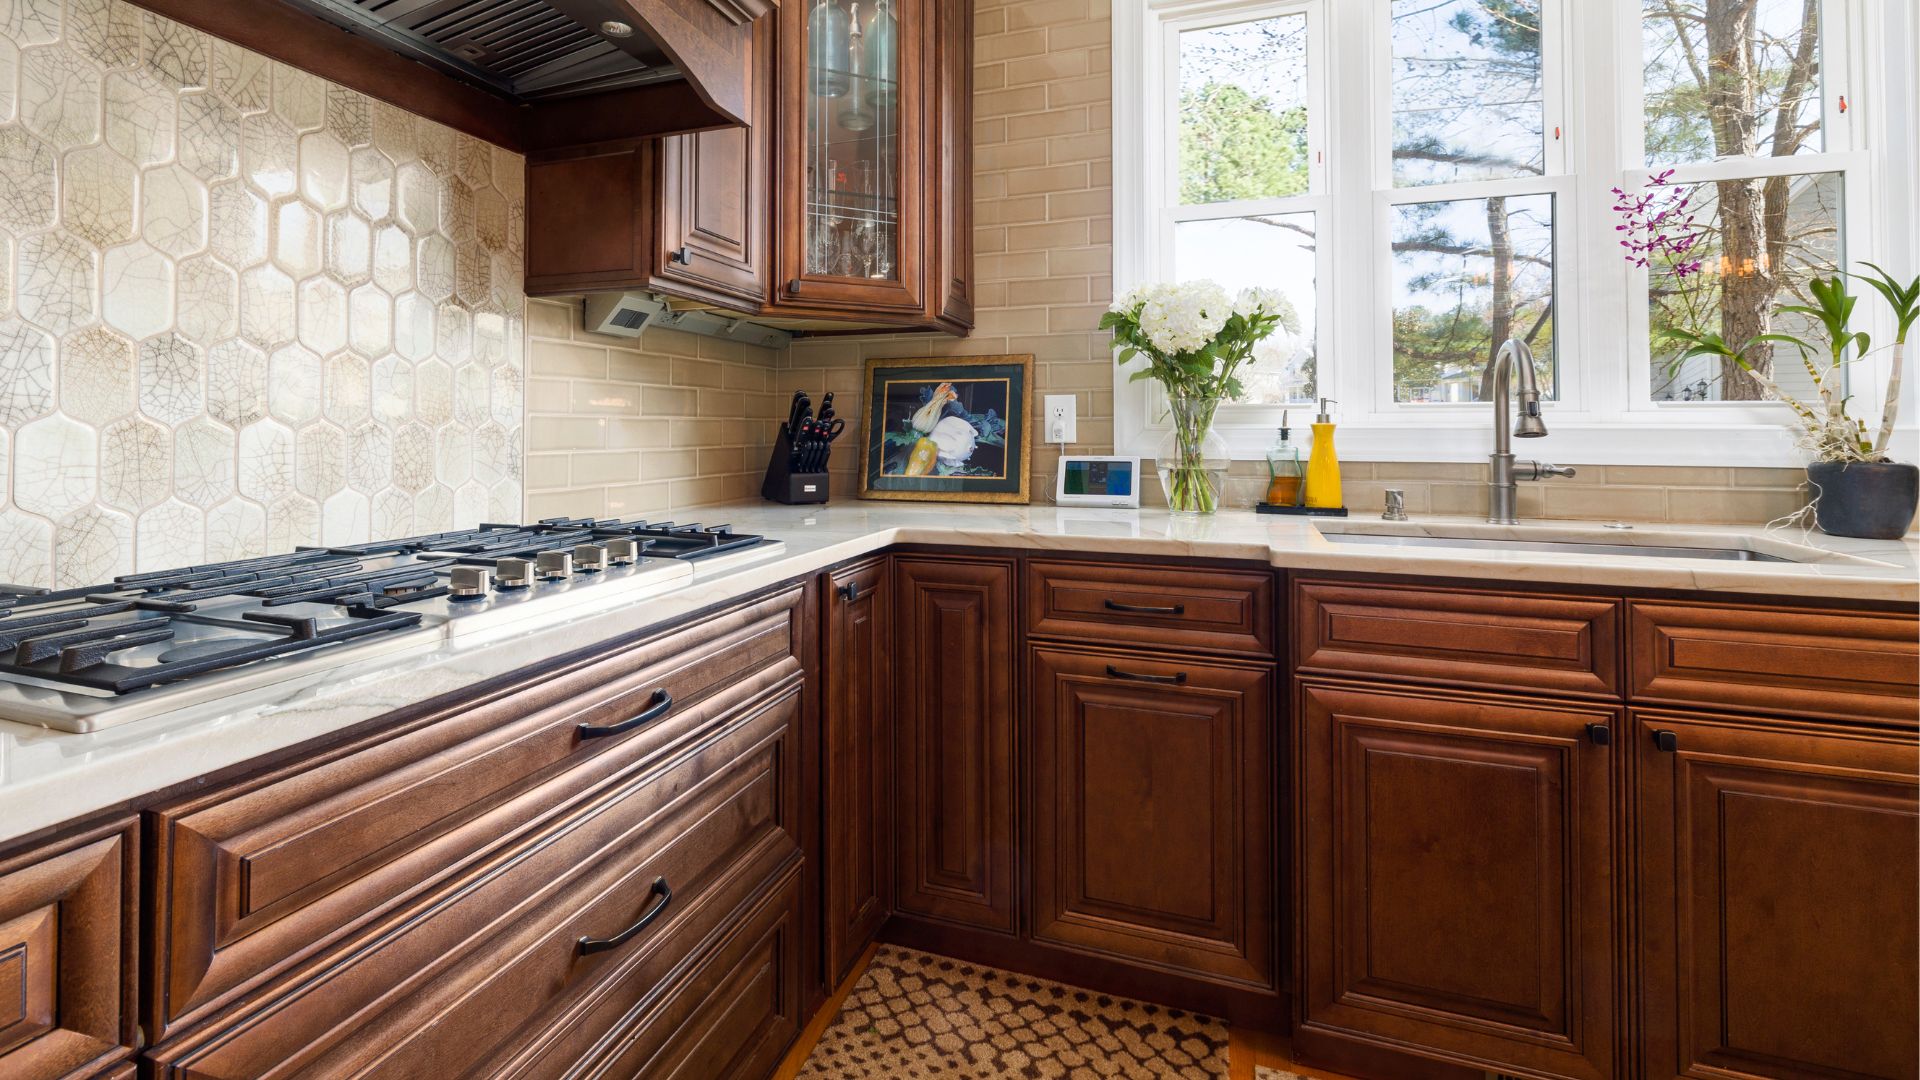
The best way to refinish kitchen cabinets is to first get all the old finish off, then make sure the surface is completely clean. You should know, sometimes the cost to refinish kitchen cabinets can be higher than new ones, so you must weigh all your options.
If you are wondering “How do you refinish kitchen cabinets?” This article will share our experts’ best tips to get the job done right. They will also give you their favorite ideas to refinish kitchen cabinets that yield some surprising results for your home.
Step 1: Inspect Your Kitchen Cabinets To Refinish
Before getting down to the dirty and difficult job to refinish your kitchen cabinets, you need to make sure that they are in good condition. There are several signs of wear and tear that are normal and no problem for refinishing, including:
- Scratches can be sanded smooth.
- Holes can be filled with putty.
- Shelves might be able to be replaced or adjusted.
Damage beyond some normal wear and tear might require more effort, which could be too much for this project. If you have any rot or signs of serious pest damage, it might be better to get new ones instead of refinishing your kitchen cabinets.
Step 2: Take Off Doors
If you refinish your kitchen cabinets with the doors off, they will turn out a lot better than if you try to do the job with the doors on. It’s too difficult to paint around the hardware and manage the frame that is covered by the doors when they are closed.
There is also the possibility of more drips when you try to refinish your kitchen cabinets with the doors on the boxes. This could do damage to your countertops, flooring, or other parts of your kitchen.
Step 3: Strip The Old Kitchen Cabinet Finish
For like new results, you must get all of the old finish off of the kitchen cabinets. The exception would be if you want to put a new paint color on top of the old finish, because that should hide the old finish well, and you could skip to the next step.
You can use a stripper to do this job, but it will also take some sanding and some elbow grease. Some other tools that might be helpful for this include:
- Painters knife
- Electric sander
- Rags
- Wire brushes
Get as much of the old finish off as possible for best end results. Be careful not to damage any of the details on the cabinets while sanding or scraping.
Step 4: Repair Any Blemishes
This is the moment when you need to repair any scratches, dings or dents that you don’t want to see in your refinished kitchen cabinets. Use a good quality putty, caulking or wood filler to make this task easy.
The general idea of this step is to cover the blemish with the filler, then to smooth it out so that the surface looks completely smooth and like new. After the filler dries, you must do some sanding with a fine grit sandpaper to make the surface even smoother.
Step 5: Sand The Kitchen Cabinets
Now that you have some repaired kitchen cabinets, it’s time to give them an all over sanding. When sanding, always start with a lower grit, meaning roughing scratching sandpaper, then move through higher grits in numerical order.
An example of using the right grit sandpaper usually means starting with something less than 100. Next, move on to 120, 150, 180, 200 and so on until you get the desired smooth finish.
The typical highest grit for kitchen cabinets is 220, but you may choose the grit that looks best to you. In the end, having a universal sanding free of scratches will look great.
Step 6: Clean Before You Refinish Kitchen Cabinets
Now that you have all the sanding done, you have to give the cabinets a thorough cleaning. Getting rid of all the sawdust you created from sanding will help your new finish to stick better.
There are items called tack cloths that help to pick up more dirt than a regular rag. They are slightly sticky, so sawdust can’t escape them. A slightly damp cloth can work too, but you really don’t want the wood to get very wet.
Step 7: Refinish Kitchen Cabinets
Now you can apply the finish you have chosen to put onto your kitchen cabinets. For the doors, it might be helpful to put them up on saw horses while you paint them, so they are easier to reach.
You want to protect the parts under the cabinets from drips. This can be done with some old newspaper, recycled plastic, or drop clothes purchased at a home improvement store.
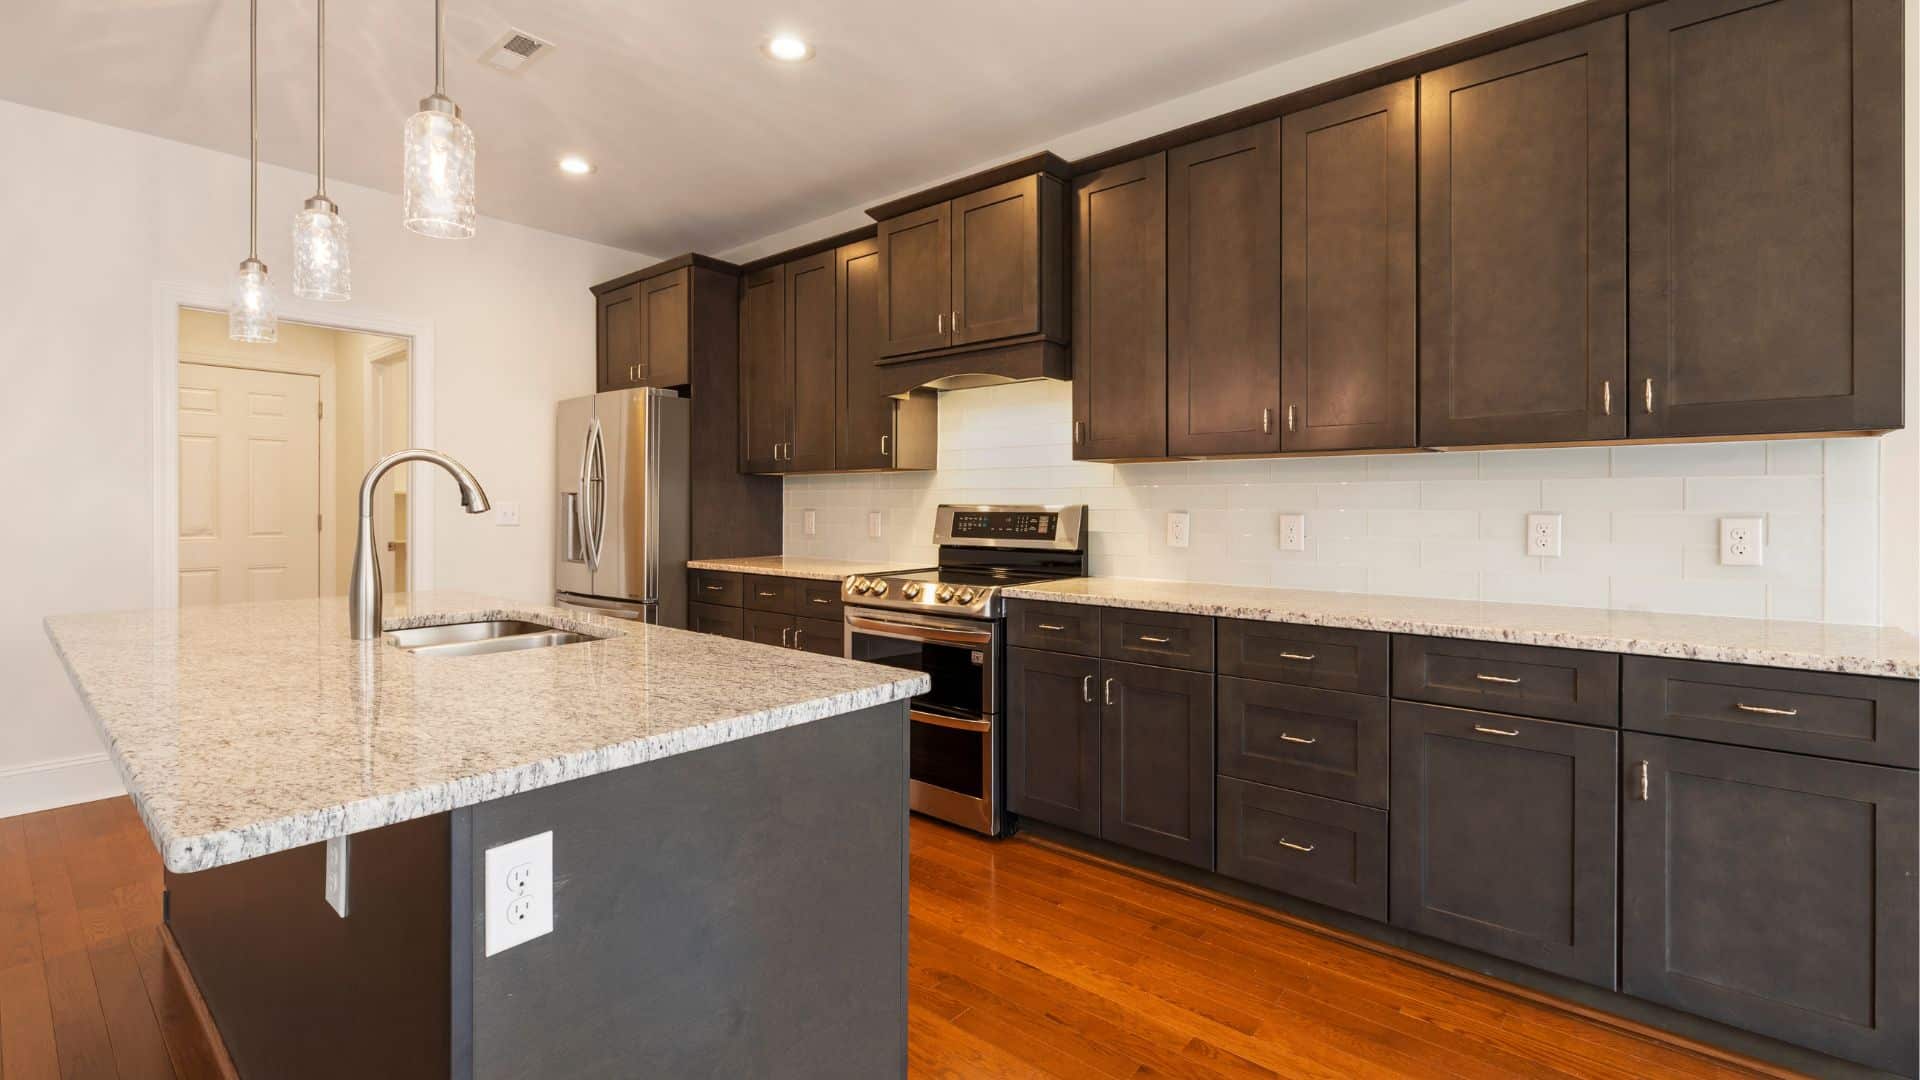
Painting Kitchen Cabinets To Refinish Them
Painting is one of the easiest methods of refinishing kitchen cabinets. Choose a high quality brush, and apply a thin layer of the paint of your choice. Don’t put paint on thick, it will tend to drip and leave ugly marks that are tough to get rid of.
You might want to first apply a coat of primer if you are doing a dramatic color change. The primer will help the paint stick, plus it is cheaper and will mean you apply less of the more expensive paint.
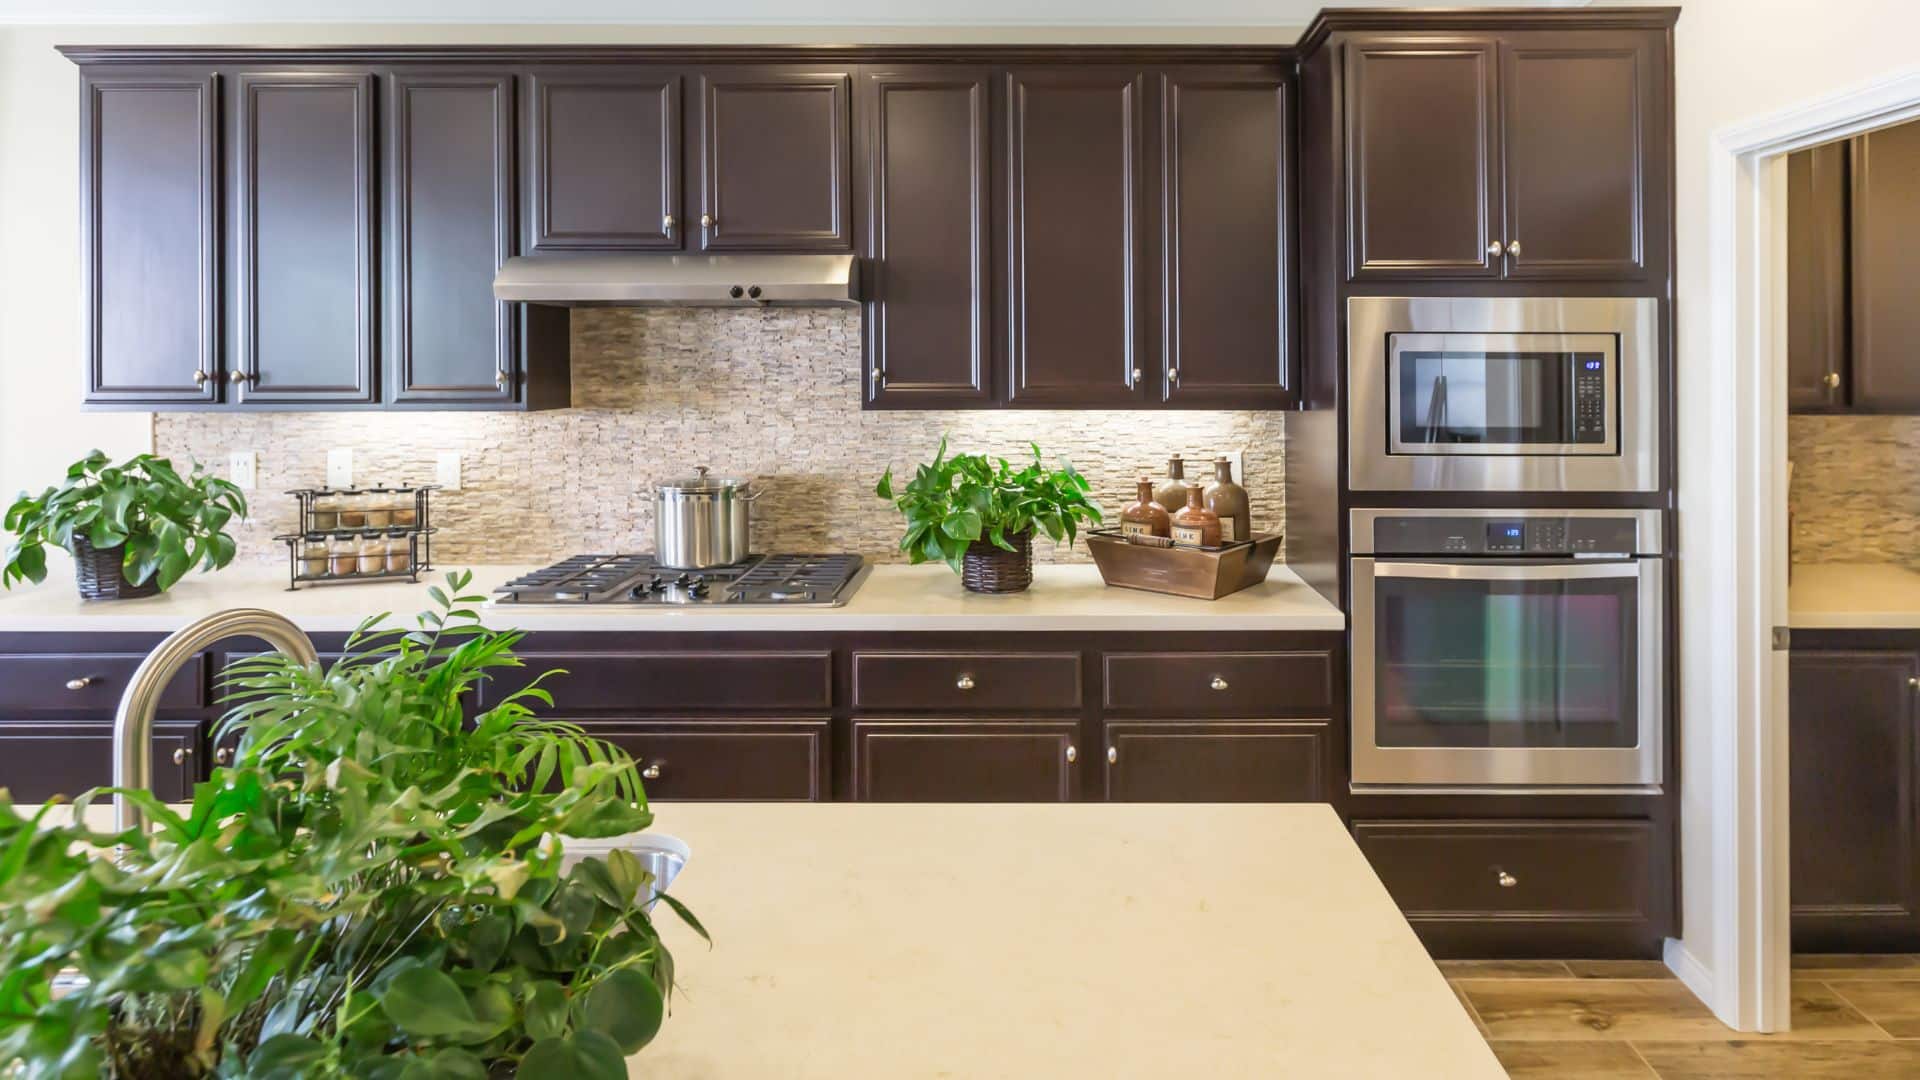
Varnishing Kitchen Cabinets
Varnish is a little trickier than painting because it is more likely that flaws will show up. Scratches and brush marks can be obvious with a clear coat, so know that you have some work ahead of you for a like-new finish.
You should put at least three coats of varnish on your kitchen cabinets for the best protection. Between each coat, sand with 220 grit sandpaper, then clean the sawdust off with a tack cloth.
Step 8: Reattach Doors
After everything dries, you can put the doors back on. It’s a little complicated, but if you use the same hinge holes as from before, it will be easier.
Don’t hesitate to contact us today or check us on Houzz anytime!